
Webflow: Editor & Designer Modes
Webflow has the particularity of being an ideal website creation tool to be used by both web designers, who will be able to modify the structure of the site, and content editors, who will be able to modify texts, links or images.
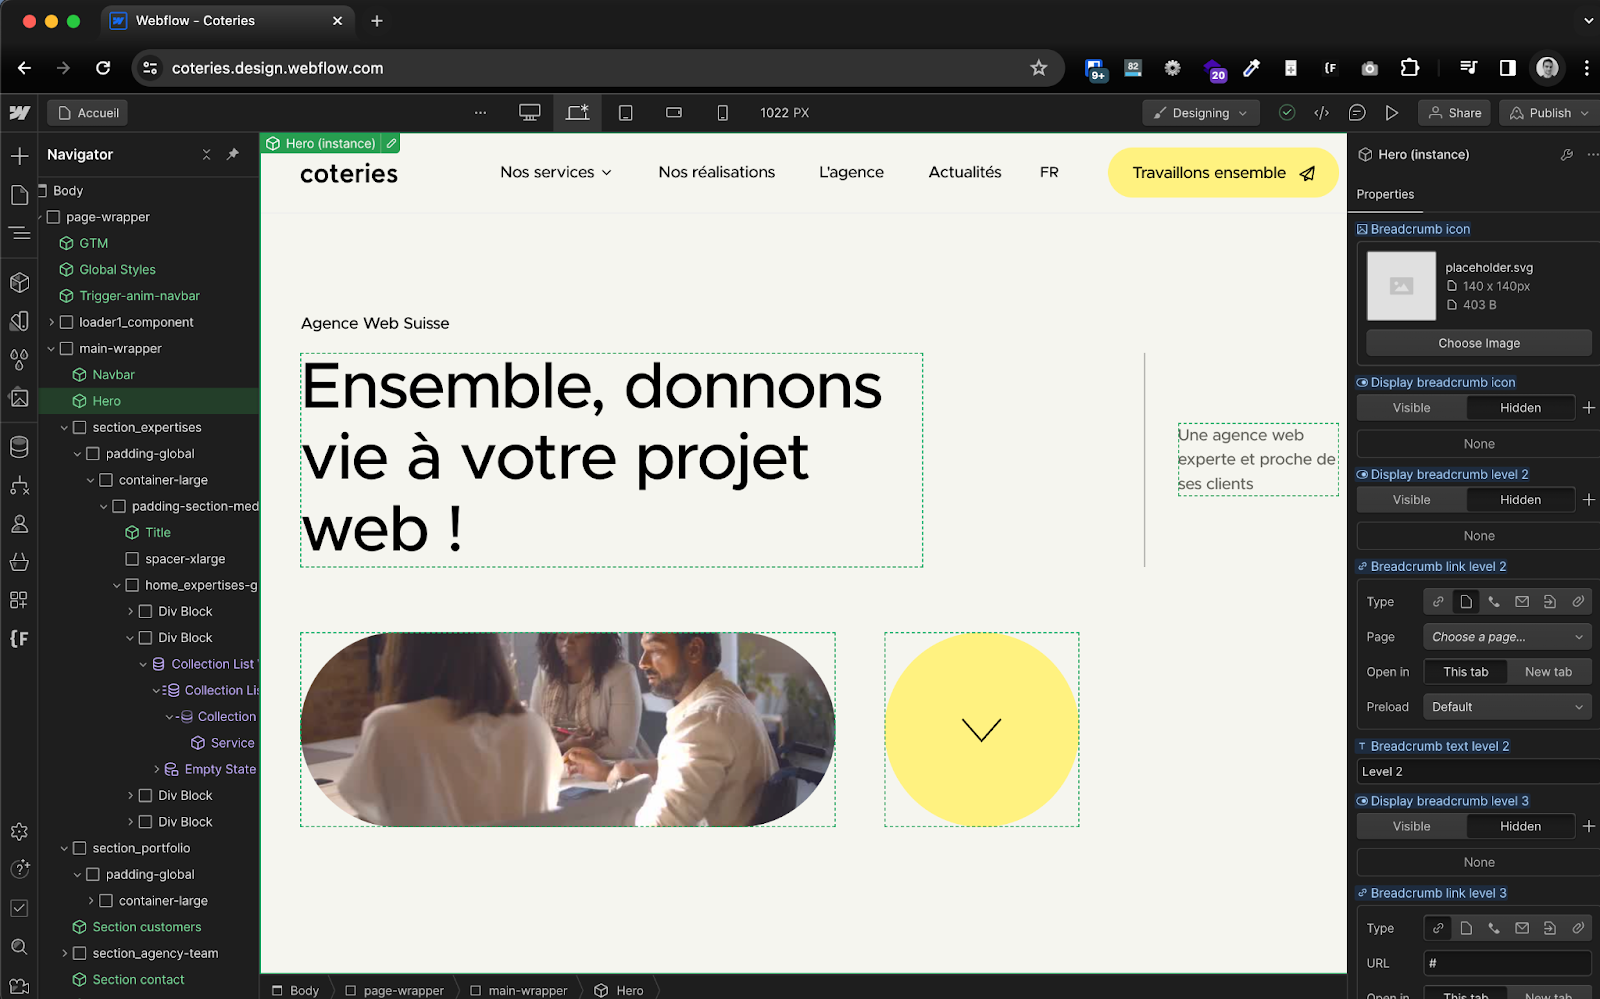
The Webflow Designer view contains advanced tools and looks like this:
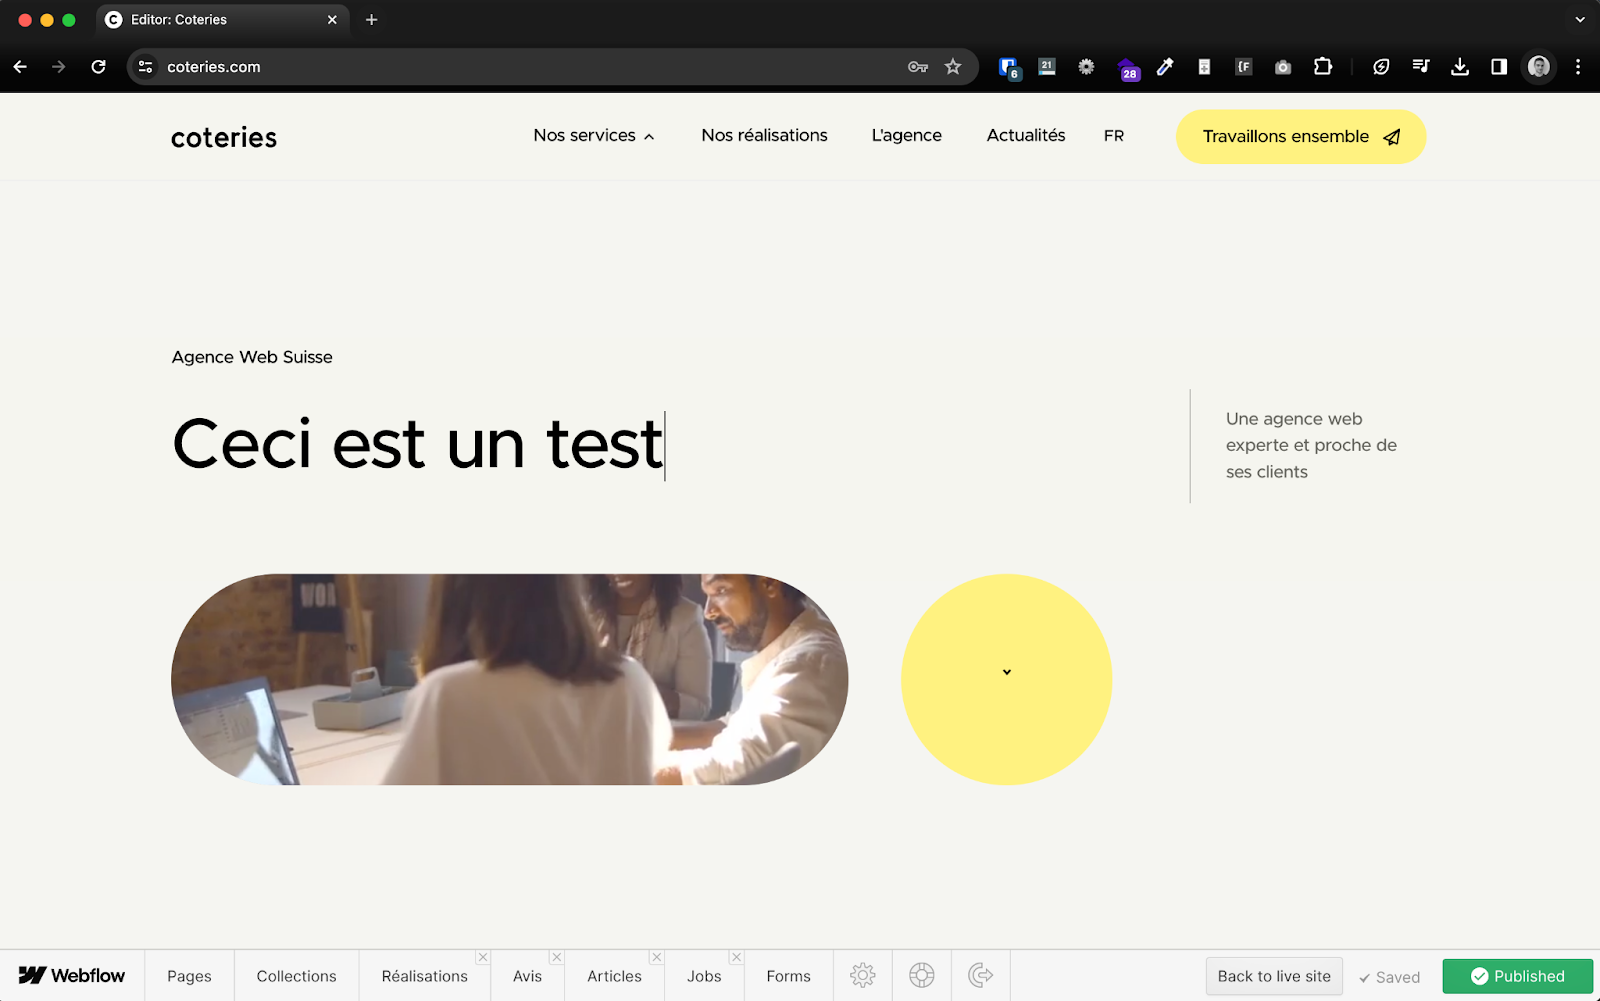
The editor view is much more simplified and allows access to the site's pages, collections and form data using a simple menu bar at the bottom of the screen:

Access the editor
2 conditions are prerequisites to access the publisher:
- you must have a publisher account, created in advance by your project manager or web designer
- you need to add “? edit” at the end of the URL: https://votre-site.com/?edit
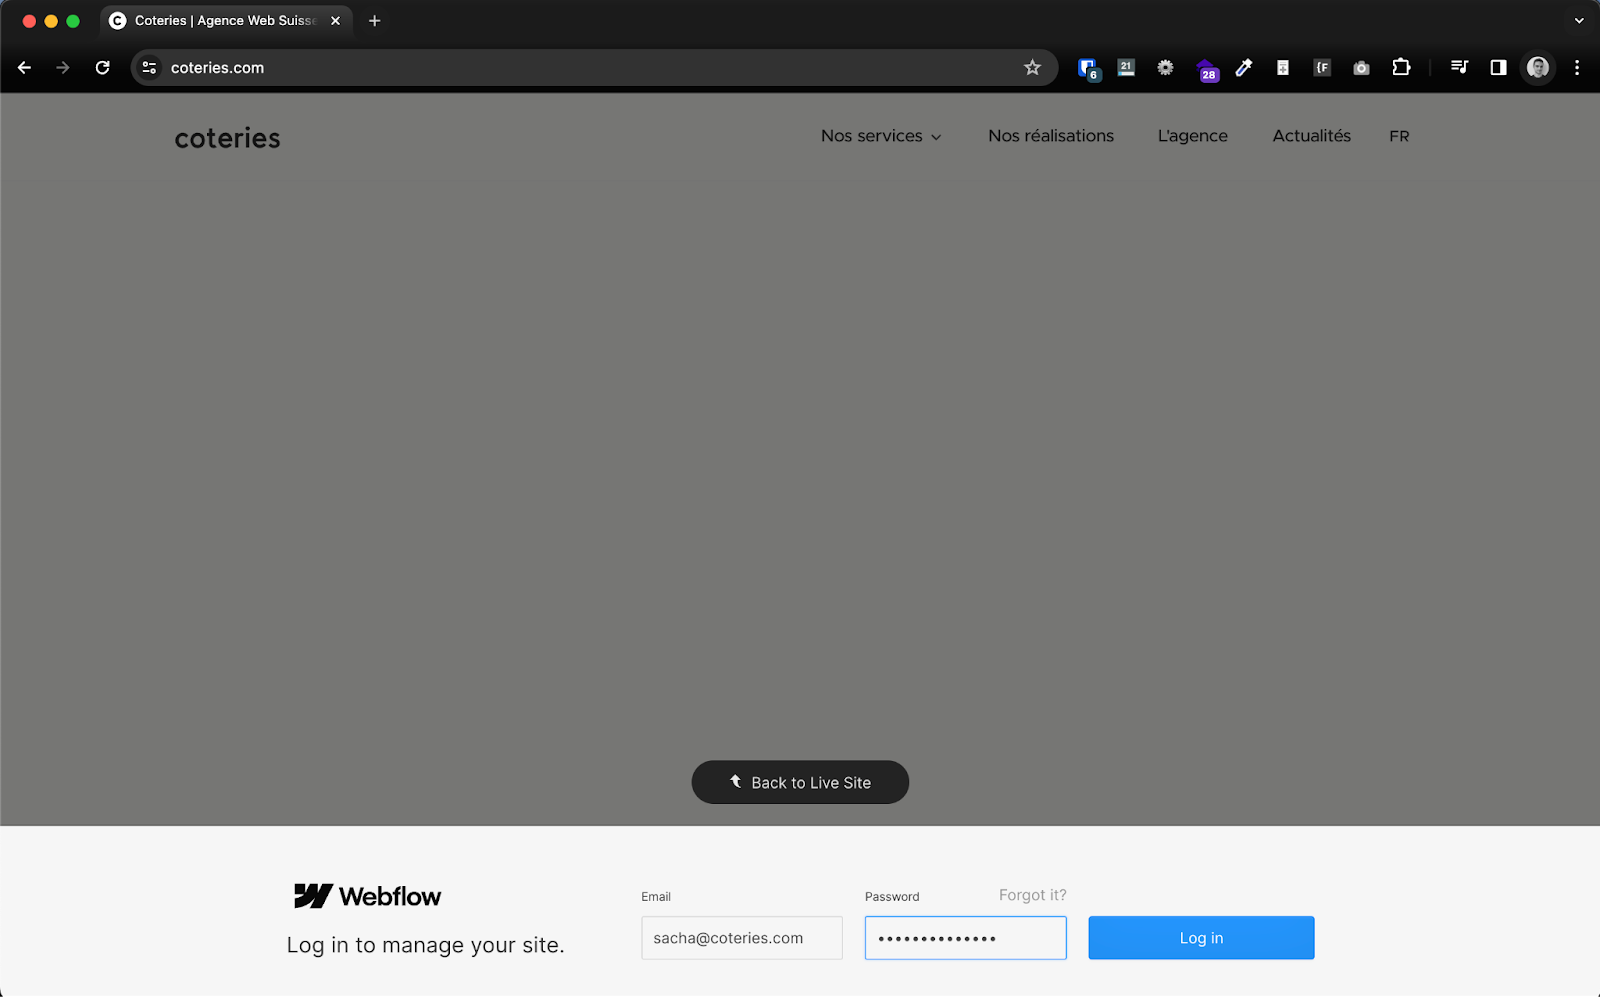
A login window is displayed at the bottom of the screen that allows you to connect to the publisher with your identifiers:
💁 If you do not have a Webflow account or are unable to access your site, please contact your project manager.
The visual editor
Content editing on Webflow is always done by modifying the desired content and then publishing it.
The visual editor allows you to modify all types of content (texts, media, links...) visually by browsing the desired page.
It is also possible to modify content with the CMS editor (Content Management System), see below.
💁 You have two environments for your website: a development environment (domain generally ending with.webflow.io) and a live environment (your domain). Publishing changes as an editor will publish to both environments. If you want to change only the developing environment, contact your project manager.
Edit texts
To edit a text or a title with the visual editor, simply click on the pencil located at the top right of the text block and edit the text.

You can then edit the text and click outside the block to save the change you made.
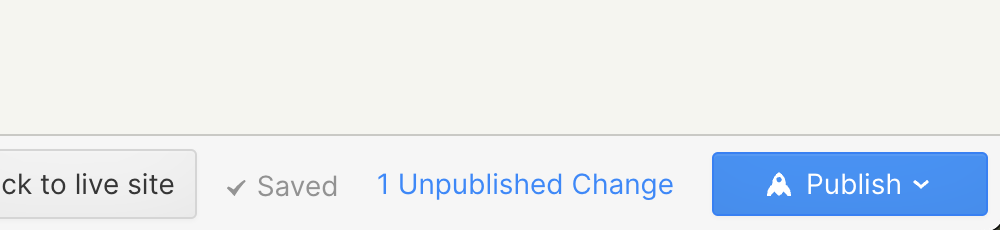
As you can see at the bottom right of the edit bar, the change has been saved.
All you have to do is click on Publish to publish the change to the live environment.
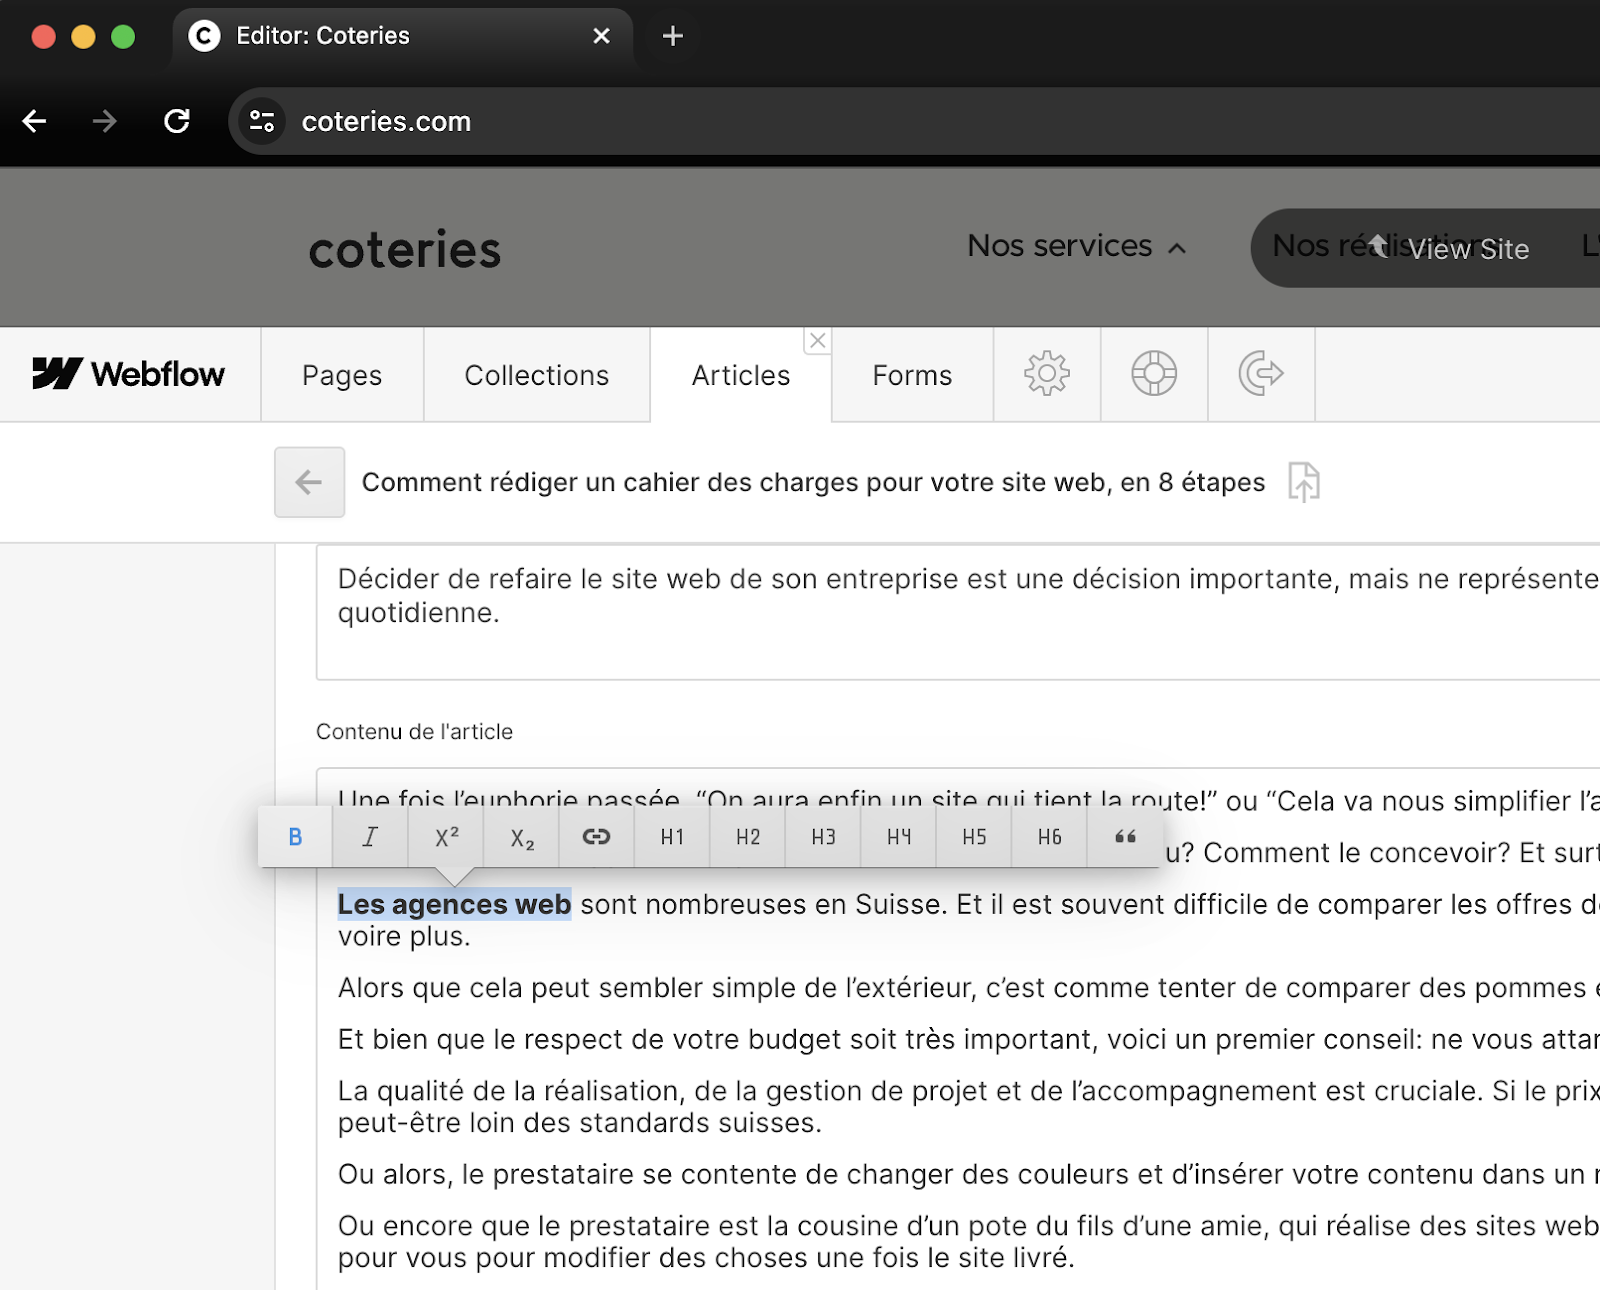
By highlighting part of a text, you can also Change its format: pass the text in bold, italics, subscript, superscript, apply a link to it or remove the formatting.

Edit images
When you hover over an image, you can click the edit image icon in the top right corner to load a new image from your computer.
A window will then open and you can select the desired image.

Edit components
Some elements on your site use”components”, reusable elements that allow several things:
- develop the site more quickly
- to maintain a consistent navigation for users, and that they are not lost with constantly different elements
- a very rapid modification of information that may appear in several places
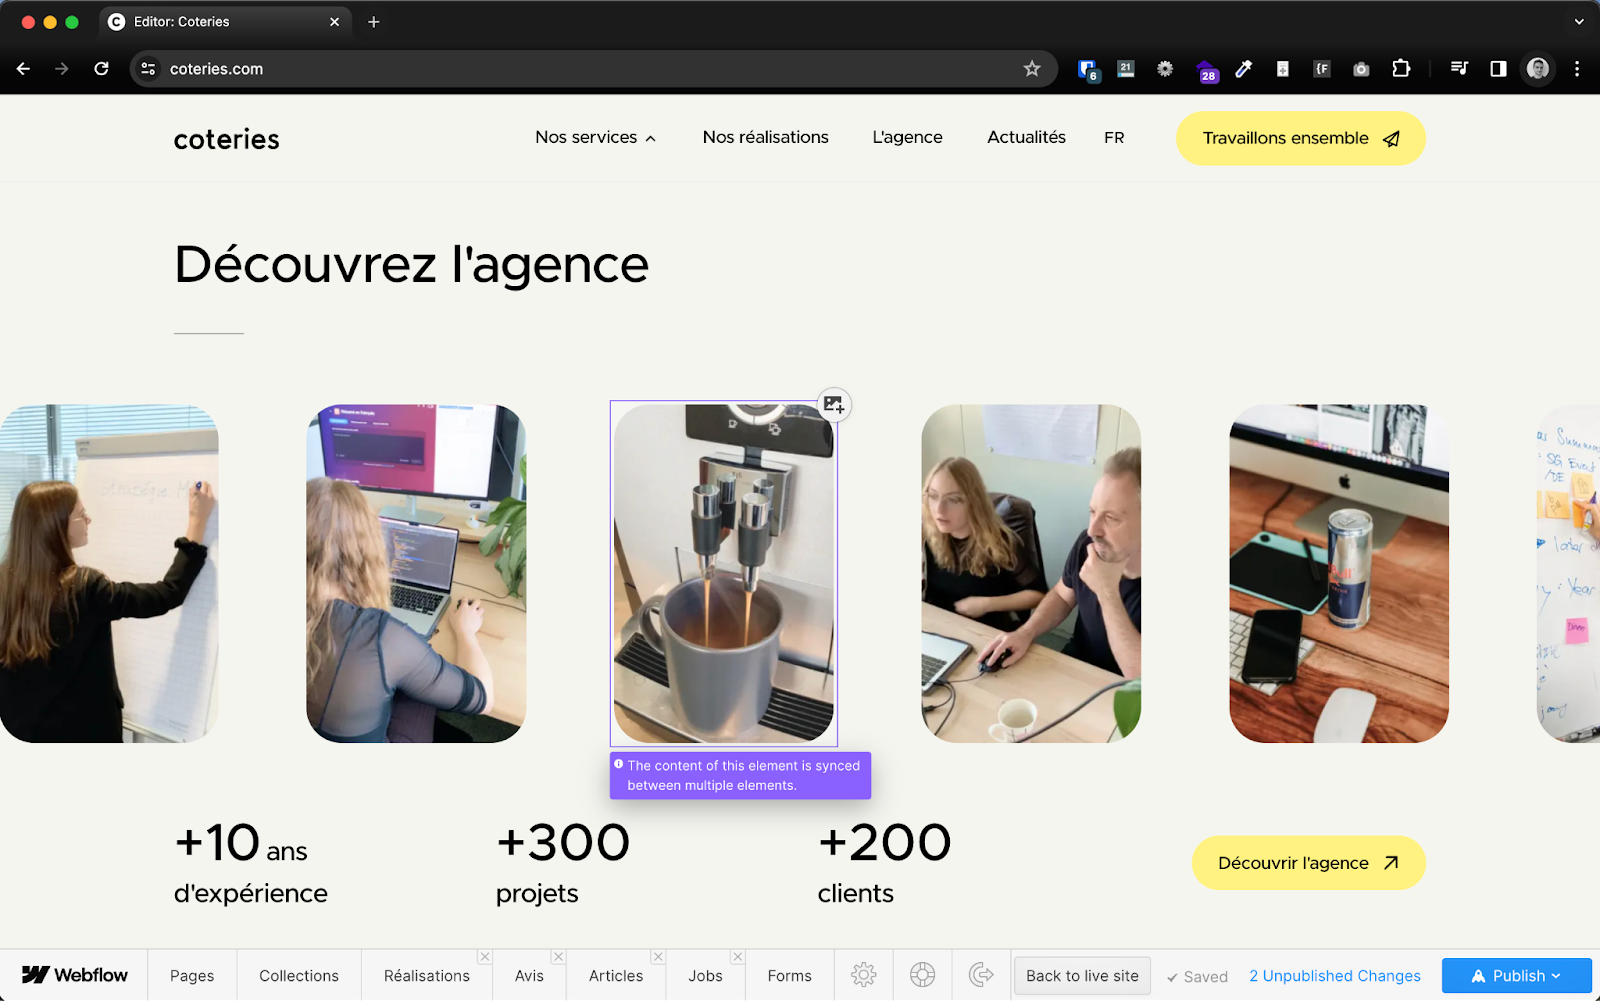
From the visual editor, components are shown in purple when hovered over.
Modifying their content will change the content of the component throughout the site. Sometimes it can just be menu items or footer items, which makes sense.
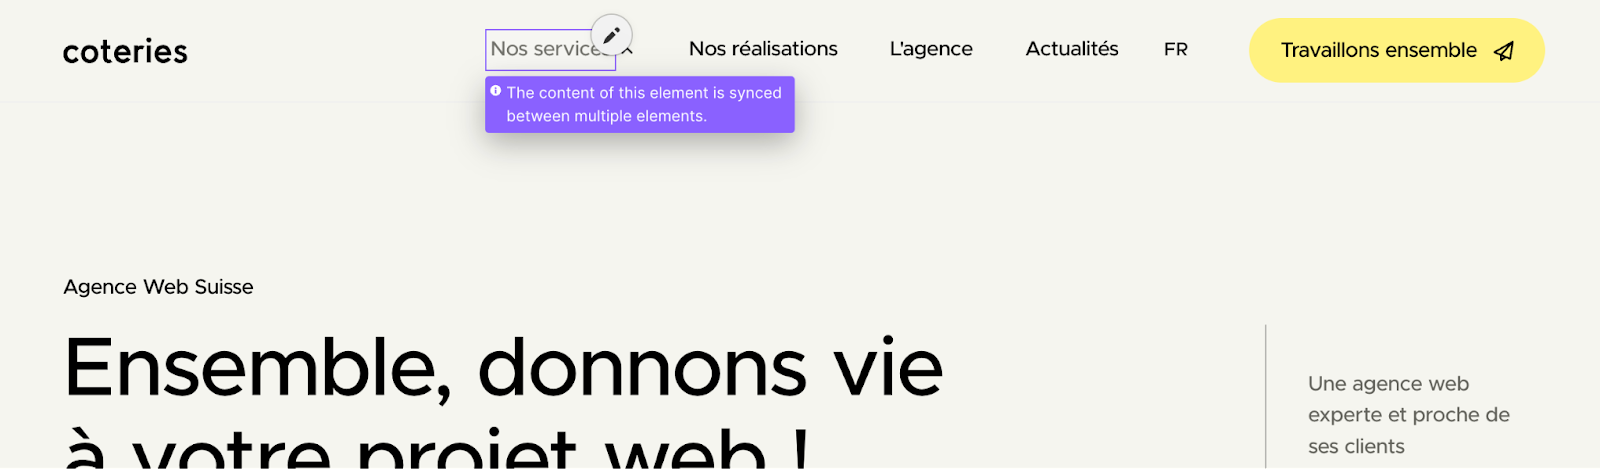
But it can also be section elements or entire sections that are used in various places on the site. So do heed when you modify components!
The CMS editor
The editor linked to the content management system (Content Management System) has access to more parameters and allows you to modify elements other than the visual editor.
Collections
Les collections are used when you want to create several similar objects: several blog articles, several achievements, several reviews, several jobs...
These are contents that thus use predefined display templates, personalized for your site.
These models make it possible to maintain consistent navigability for the user and ease of content creation for publishers.
For example:
- A portfolio can always be displayed with various sections including a title, an image, a text, a review, descriptive elements etc.
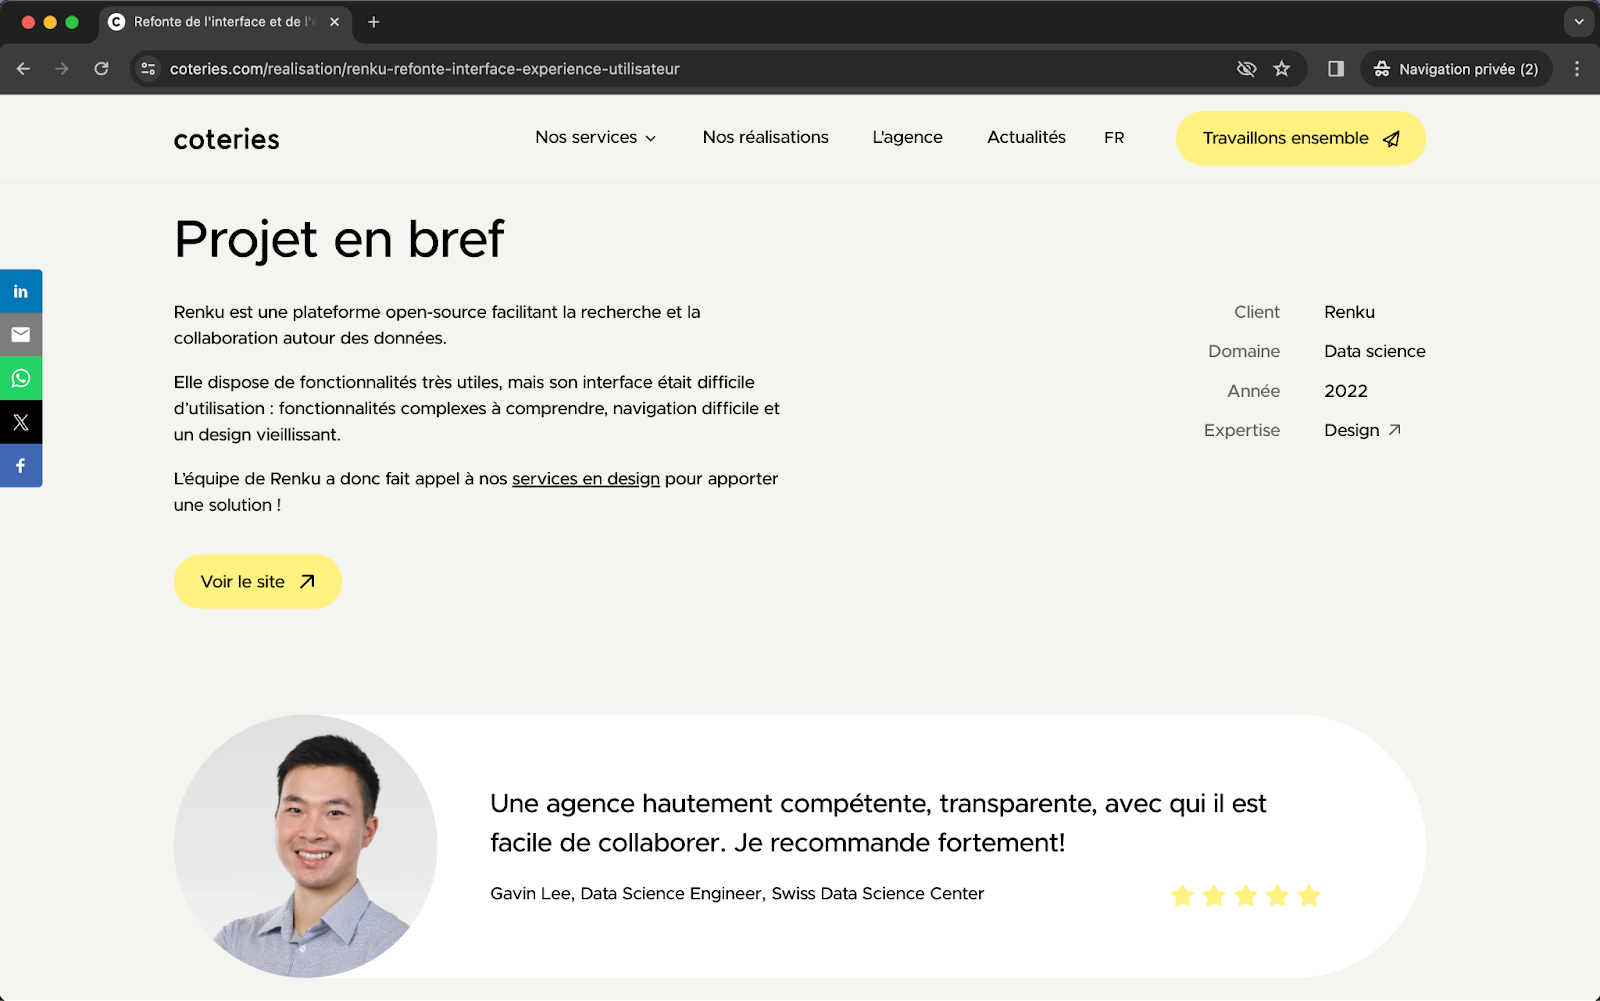

- A review can always be displayed with an image, text, the name of the person etc.

In addition, items in collections can be easily included elsewhere on the site.
For example:
- a “Latest blog posts” section that displays the image, title, and author of a blog post to present the last 3 articles and engage on them
- a “Jobs” page that displays the latest open positions with title, description, recruitment methodology and form
- an “Achievement” page that has a section that displays items from the “Reviews” collection
- etc.
Create collection objects
You can easily create collectibles with the CMS editor.
The logic is always the same: fill out a form dedicated to the collection and publish it, which will allow the object to be displayed on the site in production.
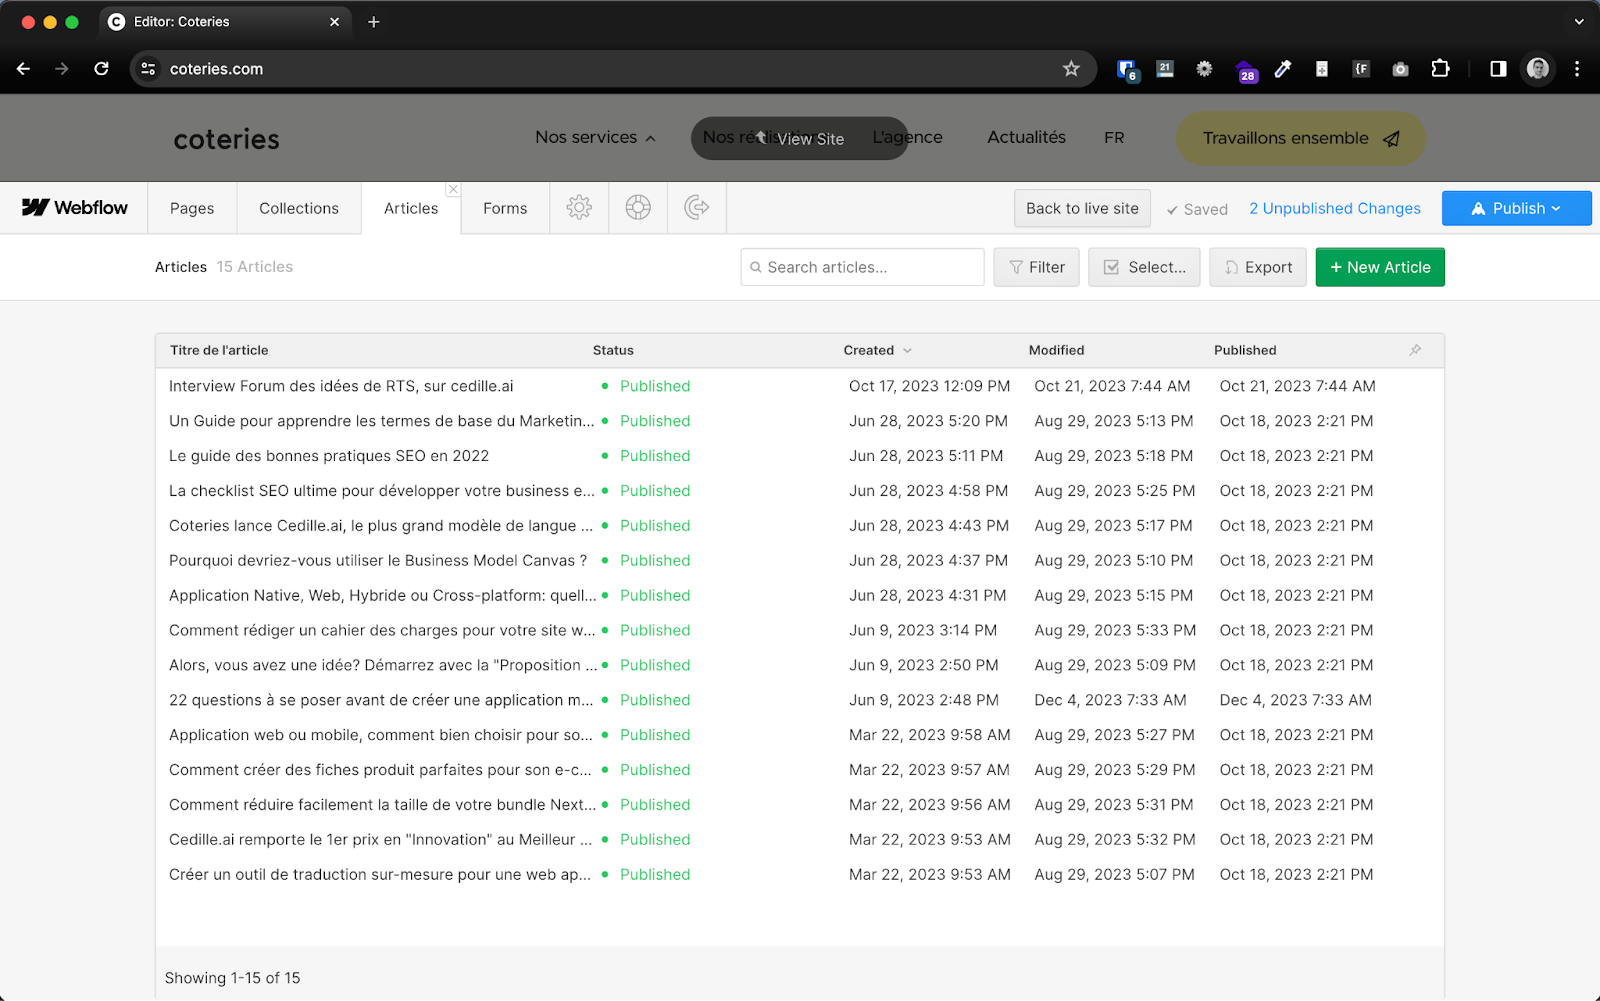
In the case of Coteries, to create a new article for example, simply go to Collections then Articles.

We will then click on”New Article” to add an item.
We will then fill in all the necessary collection fields, and click on create.
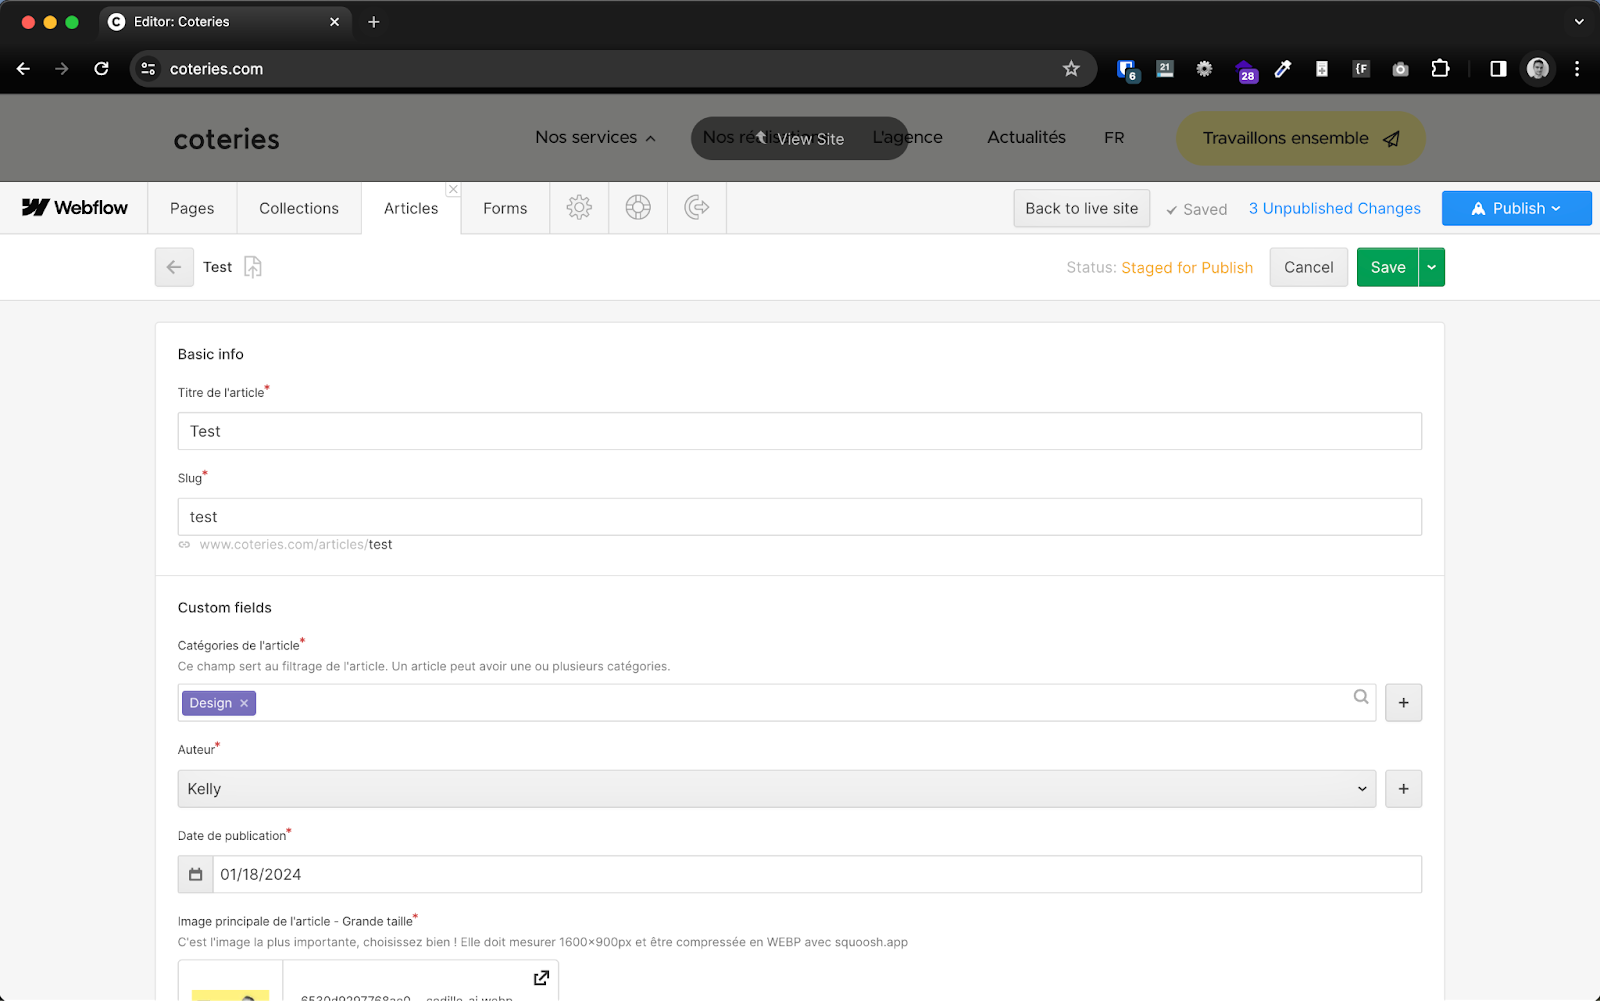
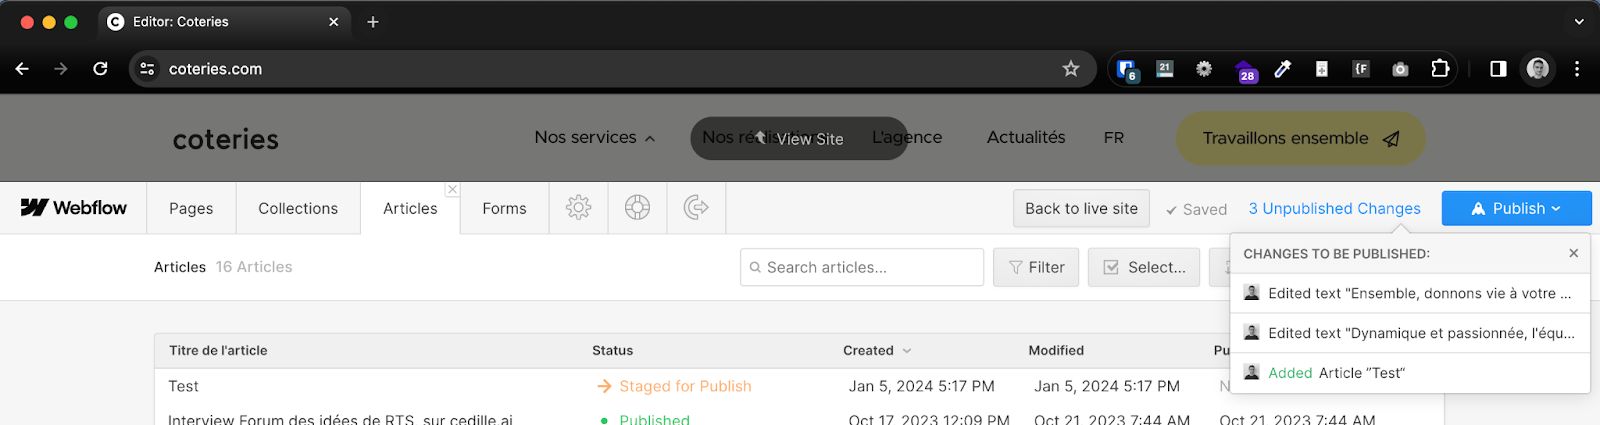
Once created, the article is “Staged for publish”, so we can Publish it.
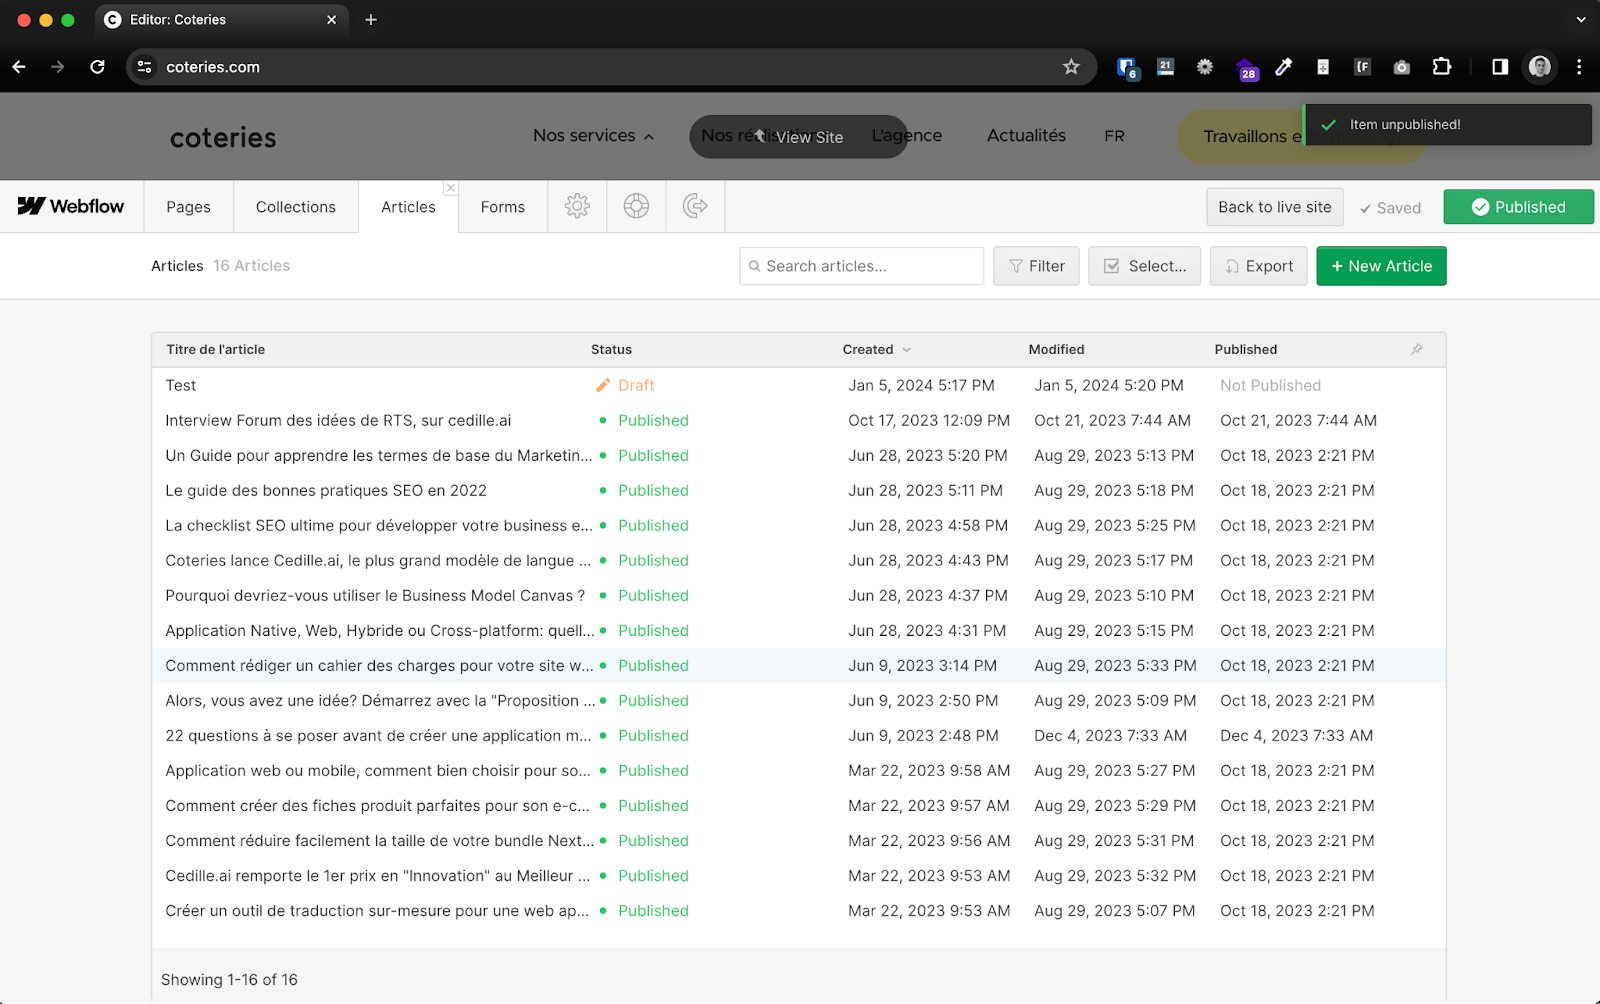
For Coteries, the article will be in our news. To unpublish it, simply click on the arrow to the right of”Save” and click on”Unpublish”.

Edit a collection object
To modify an item, simply click on the item in question in the list of objects in the collection, in this case the items. You can also search using the search bar.
As during creation, you can modify all the elements of the collection object and then click on Save or Publish.

Rich Text
Rich text or “Rich Text” is an element that not only allows you to enter text but also to manage its formatting, in addition to being able to include other elements inside, such as media (images, videos, podcasts), code and more.
Highlighting text, you can change its format, integrate a link or a title level.
With a return to the line or by clicking on an empty line, a small “+” sign is displayed with which you can add other elements...
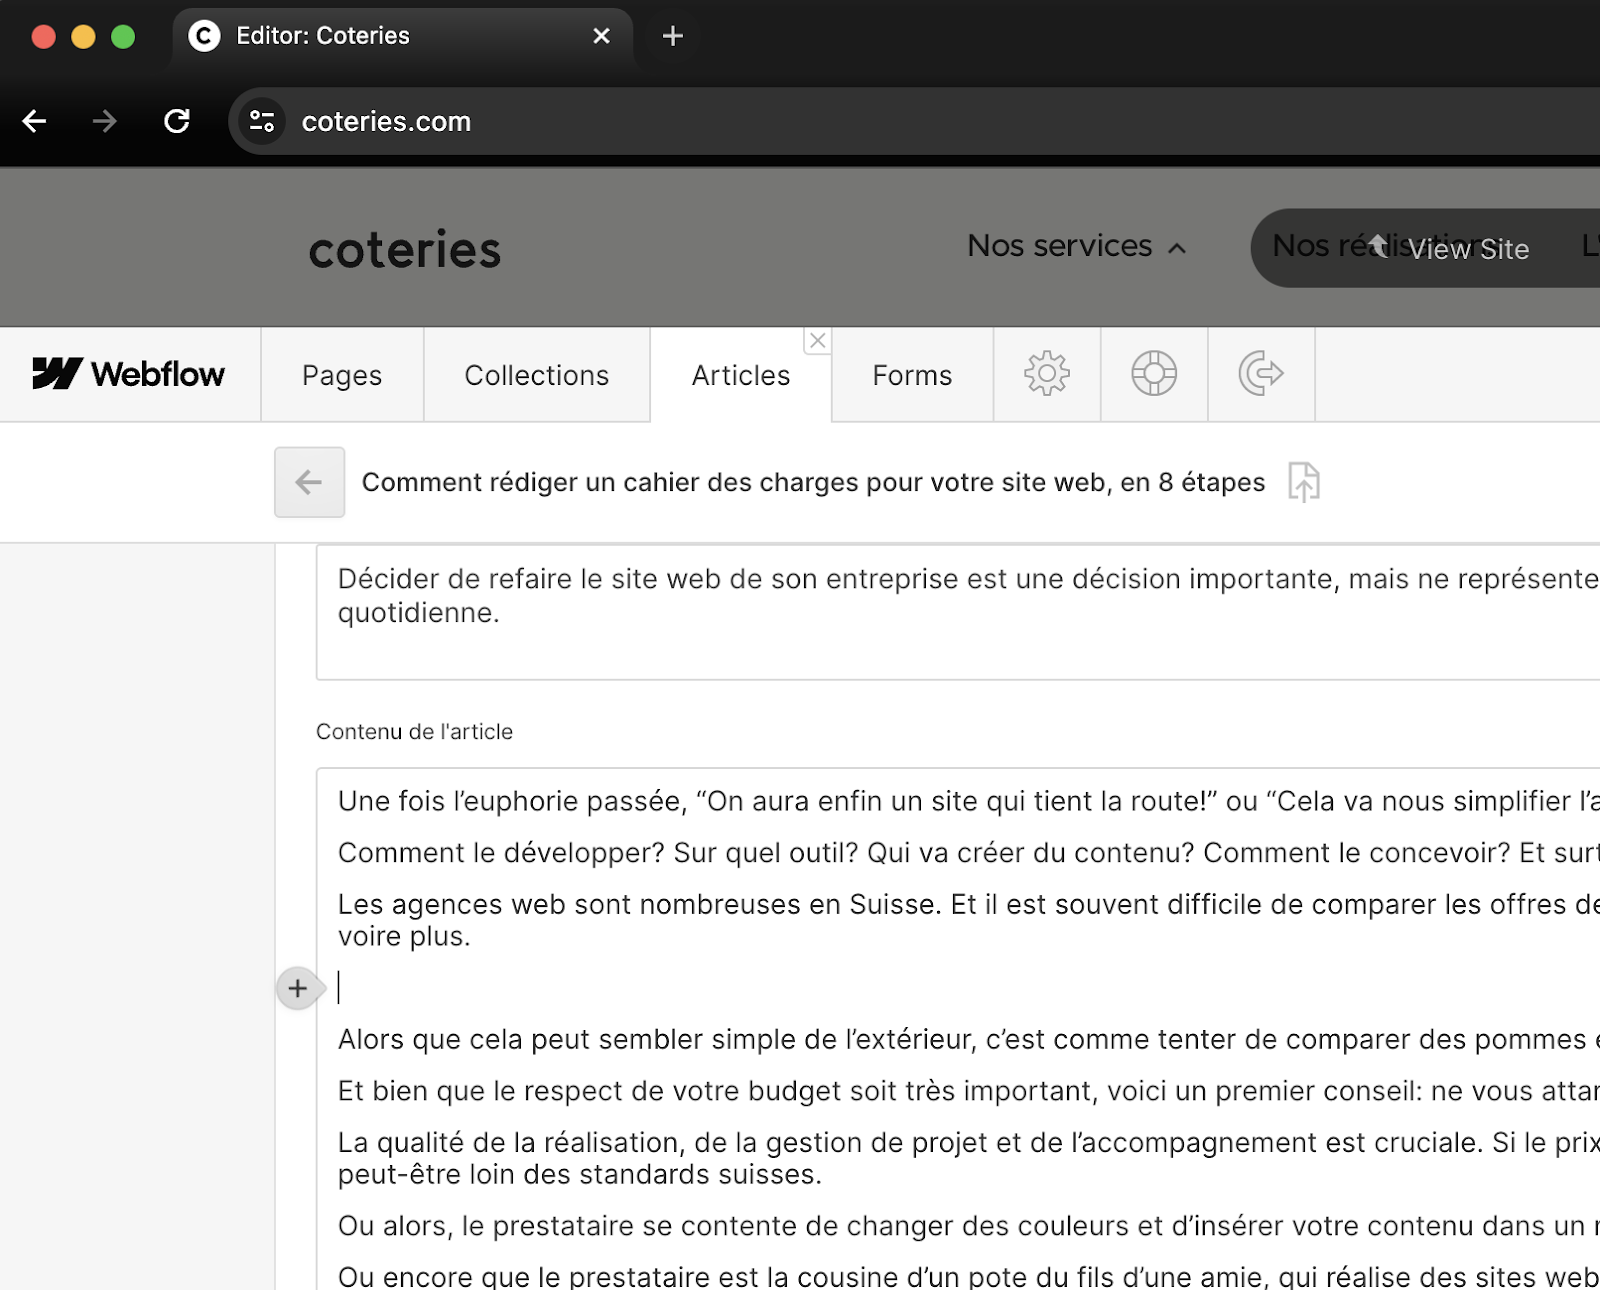
... like an image, a video with a link, code, rich content (map, music, podcast or other), bulleted lists or numbered lists.

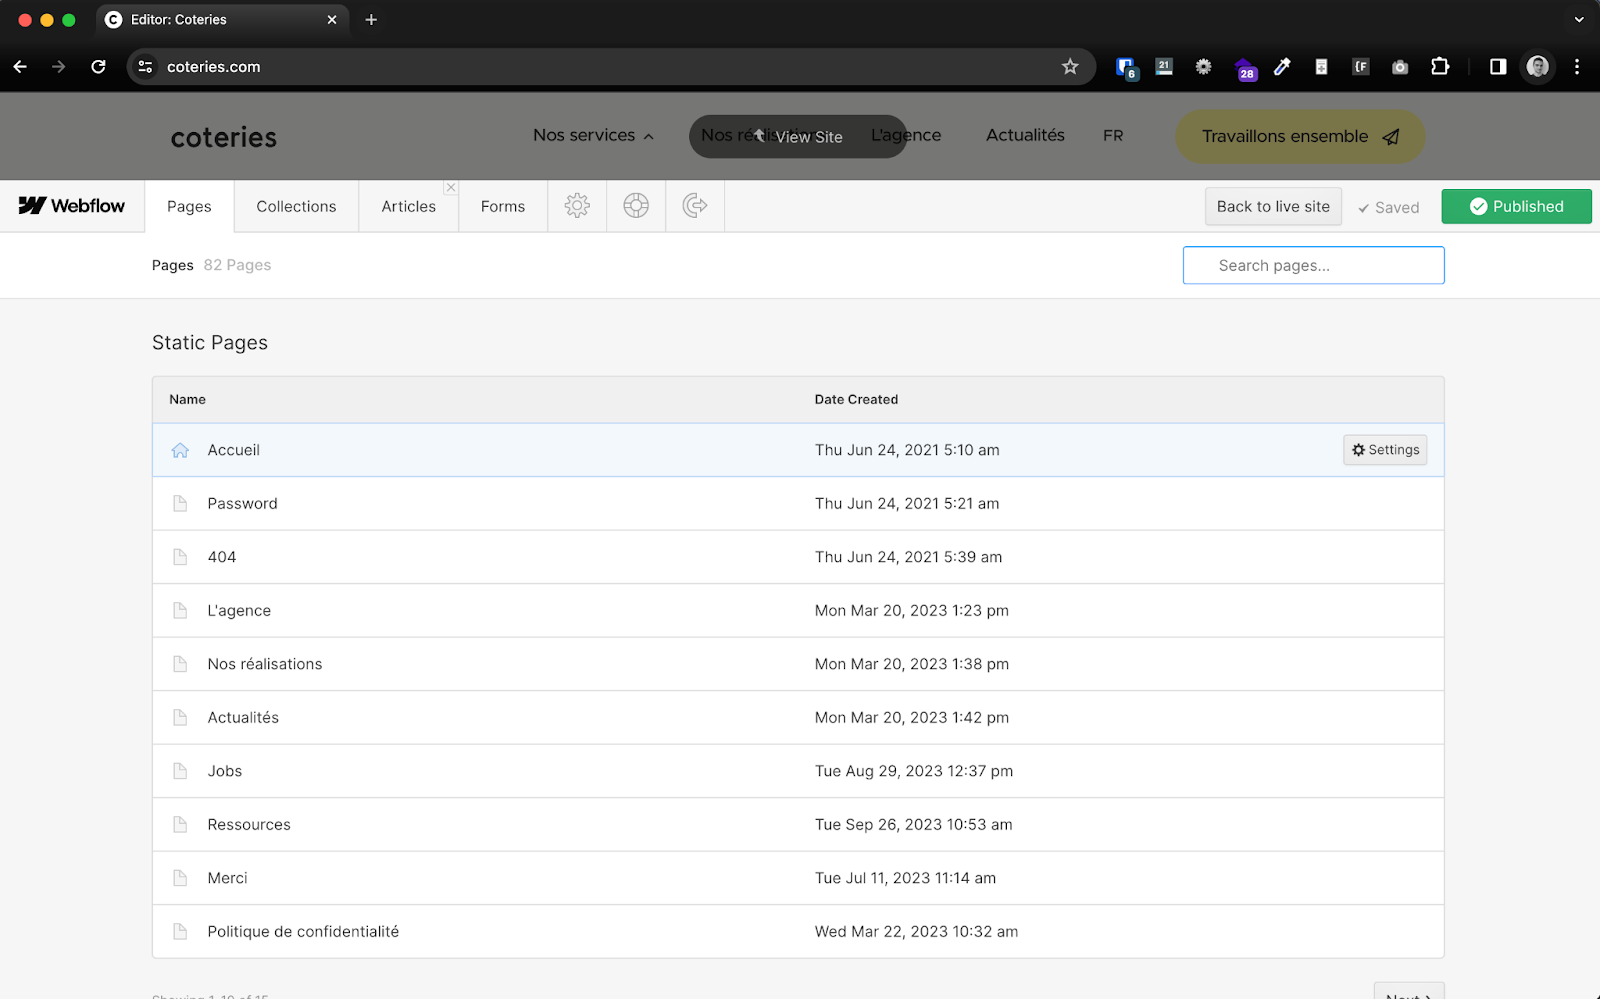
Page settings
By clicking on the tab Pages from the CMS menu, you display all the pages: static and from collections.
💁 Collections automatically create pages, but it is not possible to display these pages if they are not defined, as “Review pages” (reviews, for example, are only displayed within other pages).
You can edit the parameters of a page or a collection template by hovering over the item and clicking on “Settings”
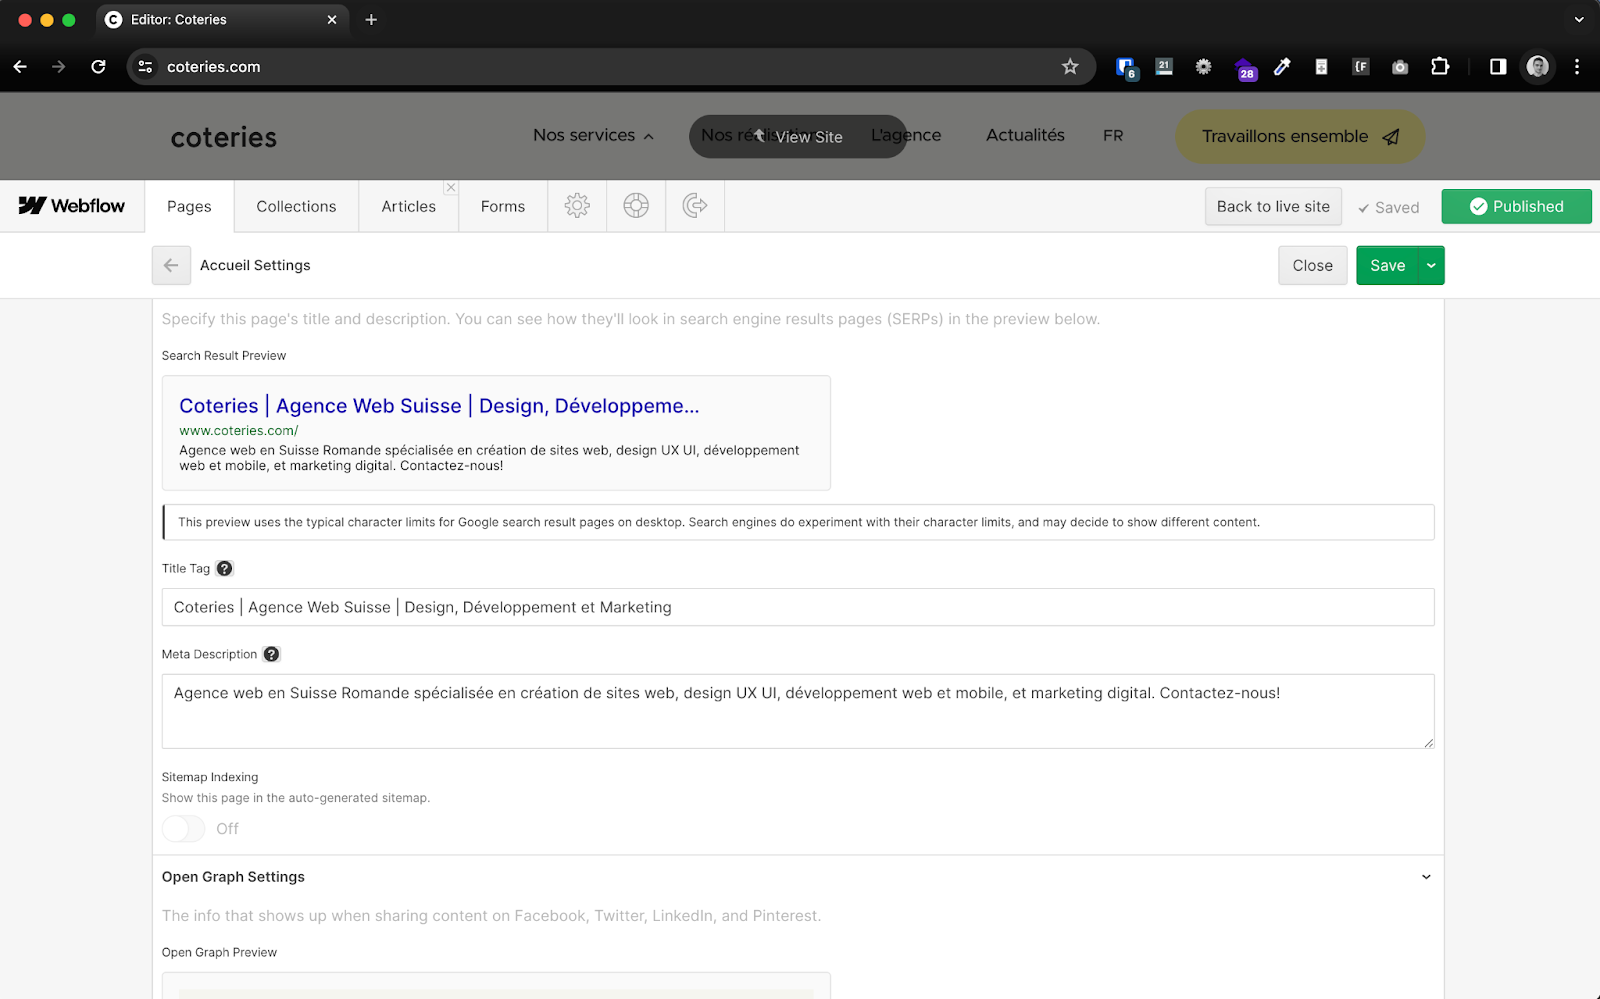
Here, in particular, you can change the settings of seo (SEO):
- Title tag
- meta description
- Open Graph settings
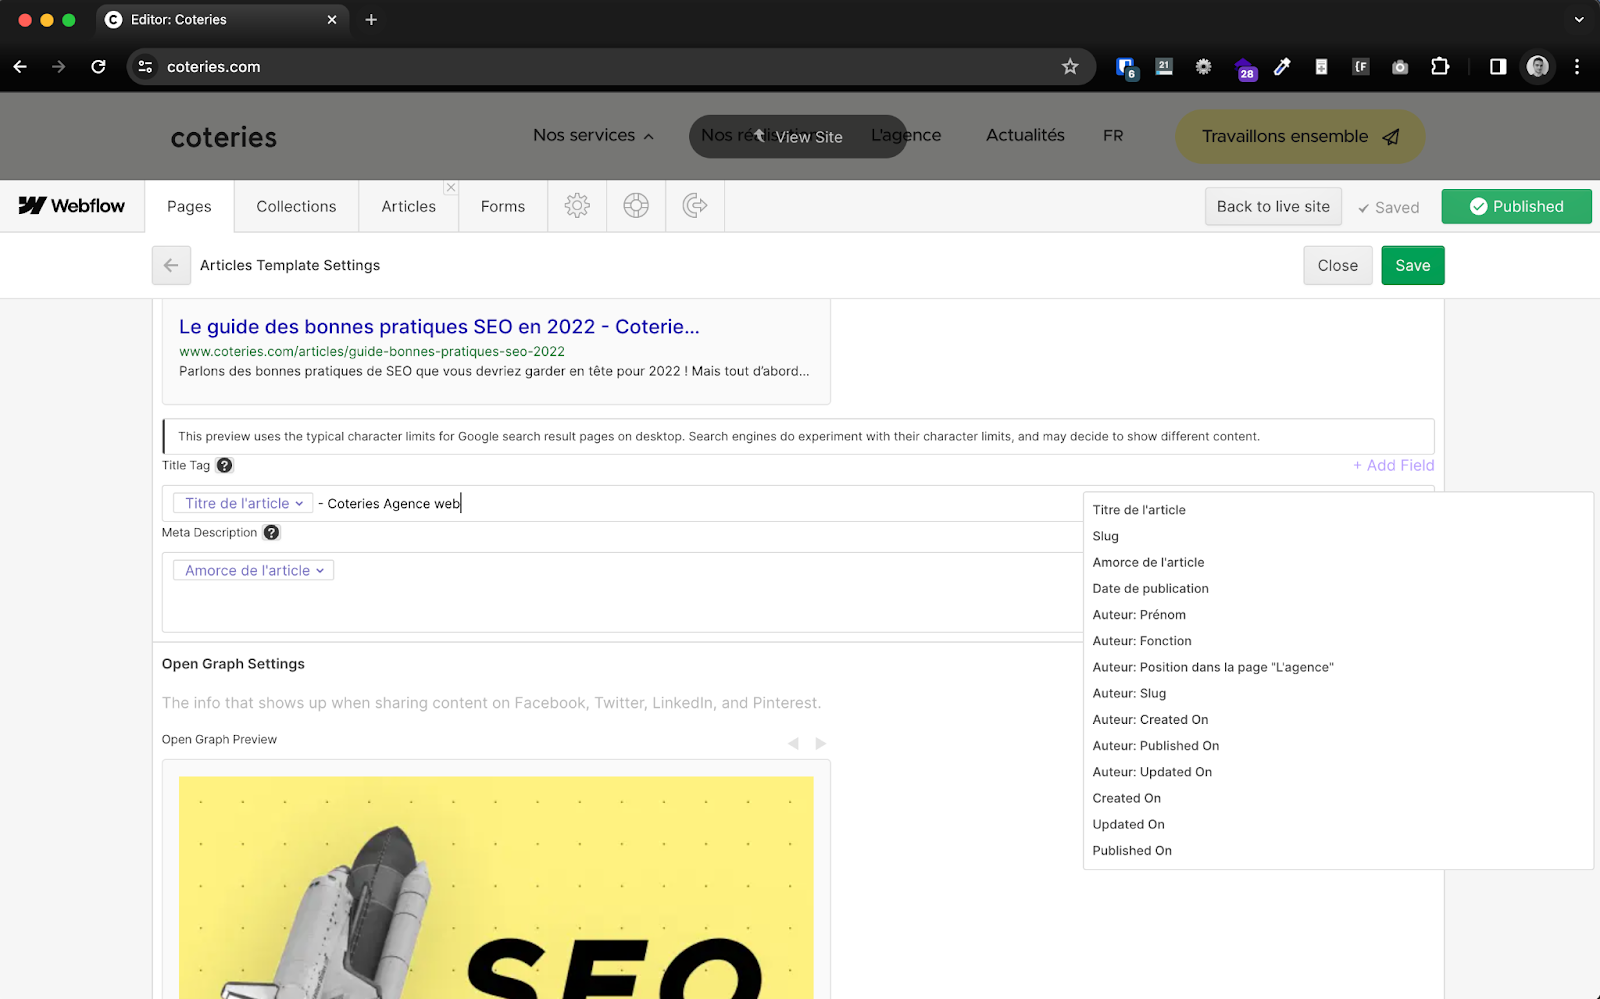
💁 For the SEO settings for collections, you define the display for all items in the same collection once. You can thus include variables that allow you to have dynamic and consistent content for each object (below in purple).
Form data
In the “” tabForms”, you can display all the latest entries received, for each form on your site.
You can also export them to .csv format and use them in a spreadsheet. You can also synchronize them with a CRM (Customer Relationship Manager) or with a Google Sheet, but this requires advanced Webflow skills.

💁 You can open your.csv file with Excel or Google Sheet, which will likely require data conversion to ensure an understandable display, with columns separated by commas or semicolons to limit file size.
When importing a.csv file with Google Sheet, column mapping is simplified and you can quickly display your data.
Create a link to a file
💁 If you want to host a file (a pdf for example) on your site to link to it from a text on your site, you must import the file from Designer mode. Please contact your project manager or web designer!
Ok! And then?
More information can be found at Webflow University.
Do not hesitate to contact your project manager at Coteries or simply write to info@coteries.com for any questions!