
Identify when you need to insert your image
Start by defining your use case. Is it the main image of an article or an event, or rather its preview image?
The “main” image, displayed within the body of your content, must be bigger than the “featured” image, displayed as a preview on your blog page for example.
Visualize the ideal size for your image
Access the resource created by Coteries to understand what ideal image size you need to insert.
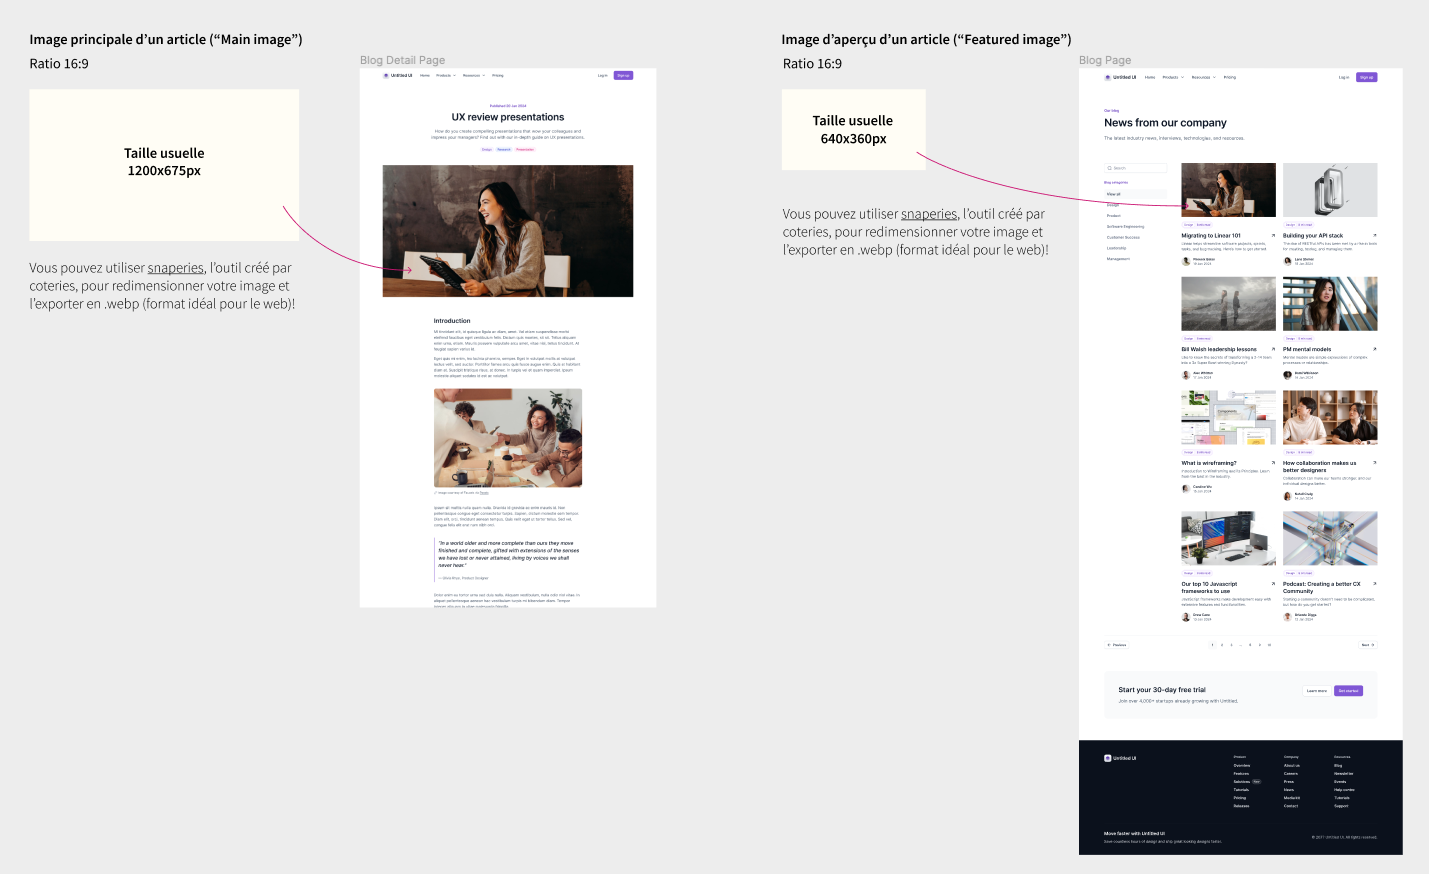
This resource tells you the ideal size and ratio of an image depending on where you need to embed it!
Resize your image
With the right image in hand and knowing the ideal size for your image, you can now resize it to the proper size.
You can use online tools, like Snaperies, a tool created by our team to both resize an image to the right size and export it directly to.webp.
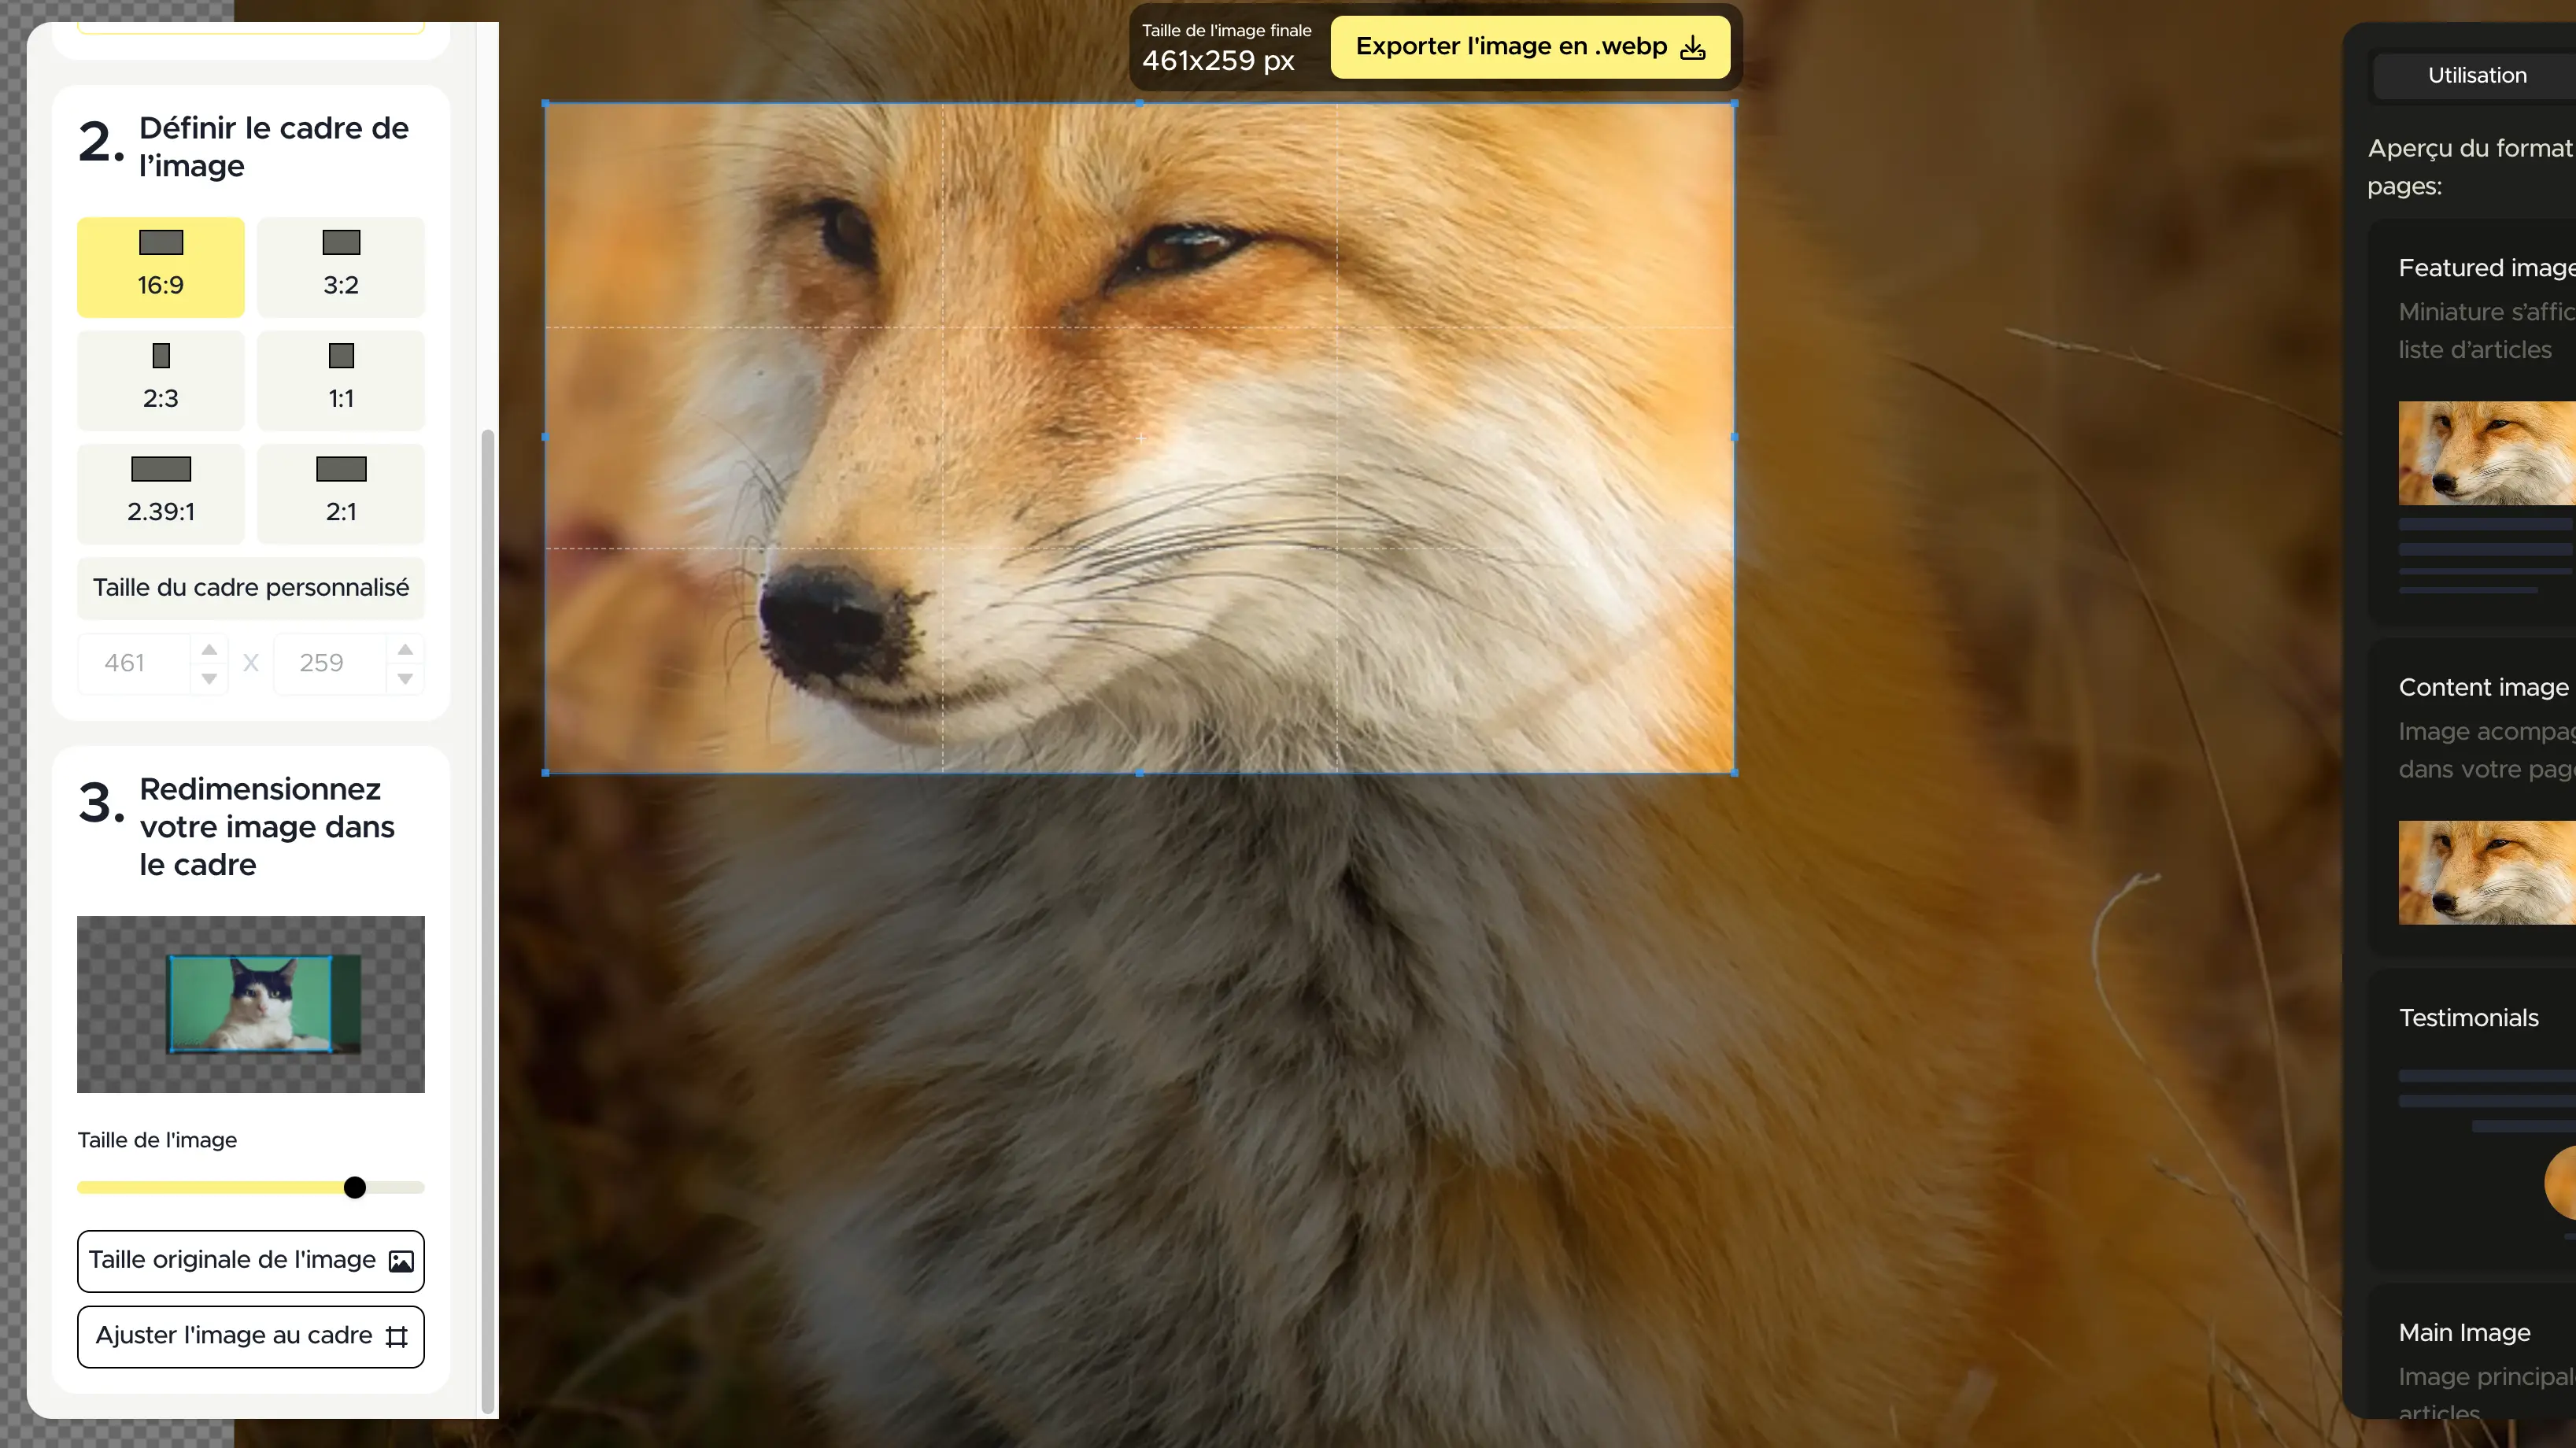
The .webp format, created by Google, allows you to compress the size of an image without losing too much quality. A reduced weight ensures that your pages load faster, an excellent point for SEO!
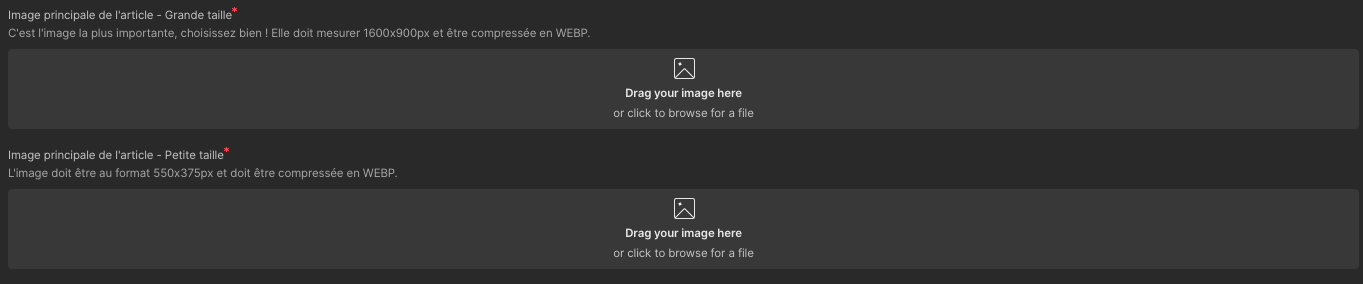
Integrate your image
All you have to do is import it with drag and drop, and that's it.
And if you have any questions, Contact us!