Introduction
Webflow now integrates the feature”Localization”, which makes it possible in particular to translate your site into various languages and to localize content, i.e. to choose what you want to display in specific “locations”.
Simply put, a locale includes not only the target language but also includes a user's regional settings, such as the language of their browser as well as their time zone.
So here's how to translate your site with Webflow!
Access your Webflow site in Fashion Designer
💁 This resource is only for users who have Localization enabled and configured for their Webflow site.
For the moment, translation can only be done from Designer mode, not from the Editor (by accessing his site via mysite.com? Edit).
Fortunately, Webflow has integrated an “Editing” mode into the Designer, which not only allows several people to work on it but also ensures that nothing in the structure of the site is modified.
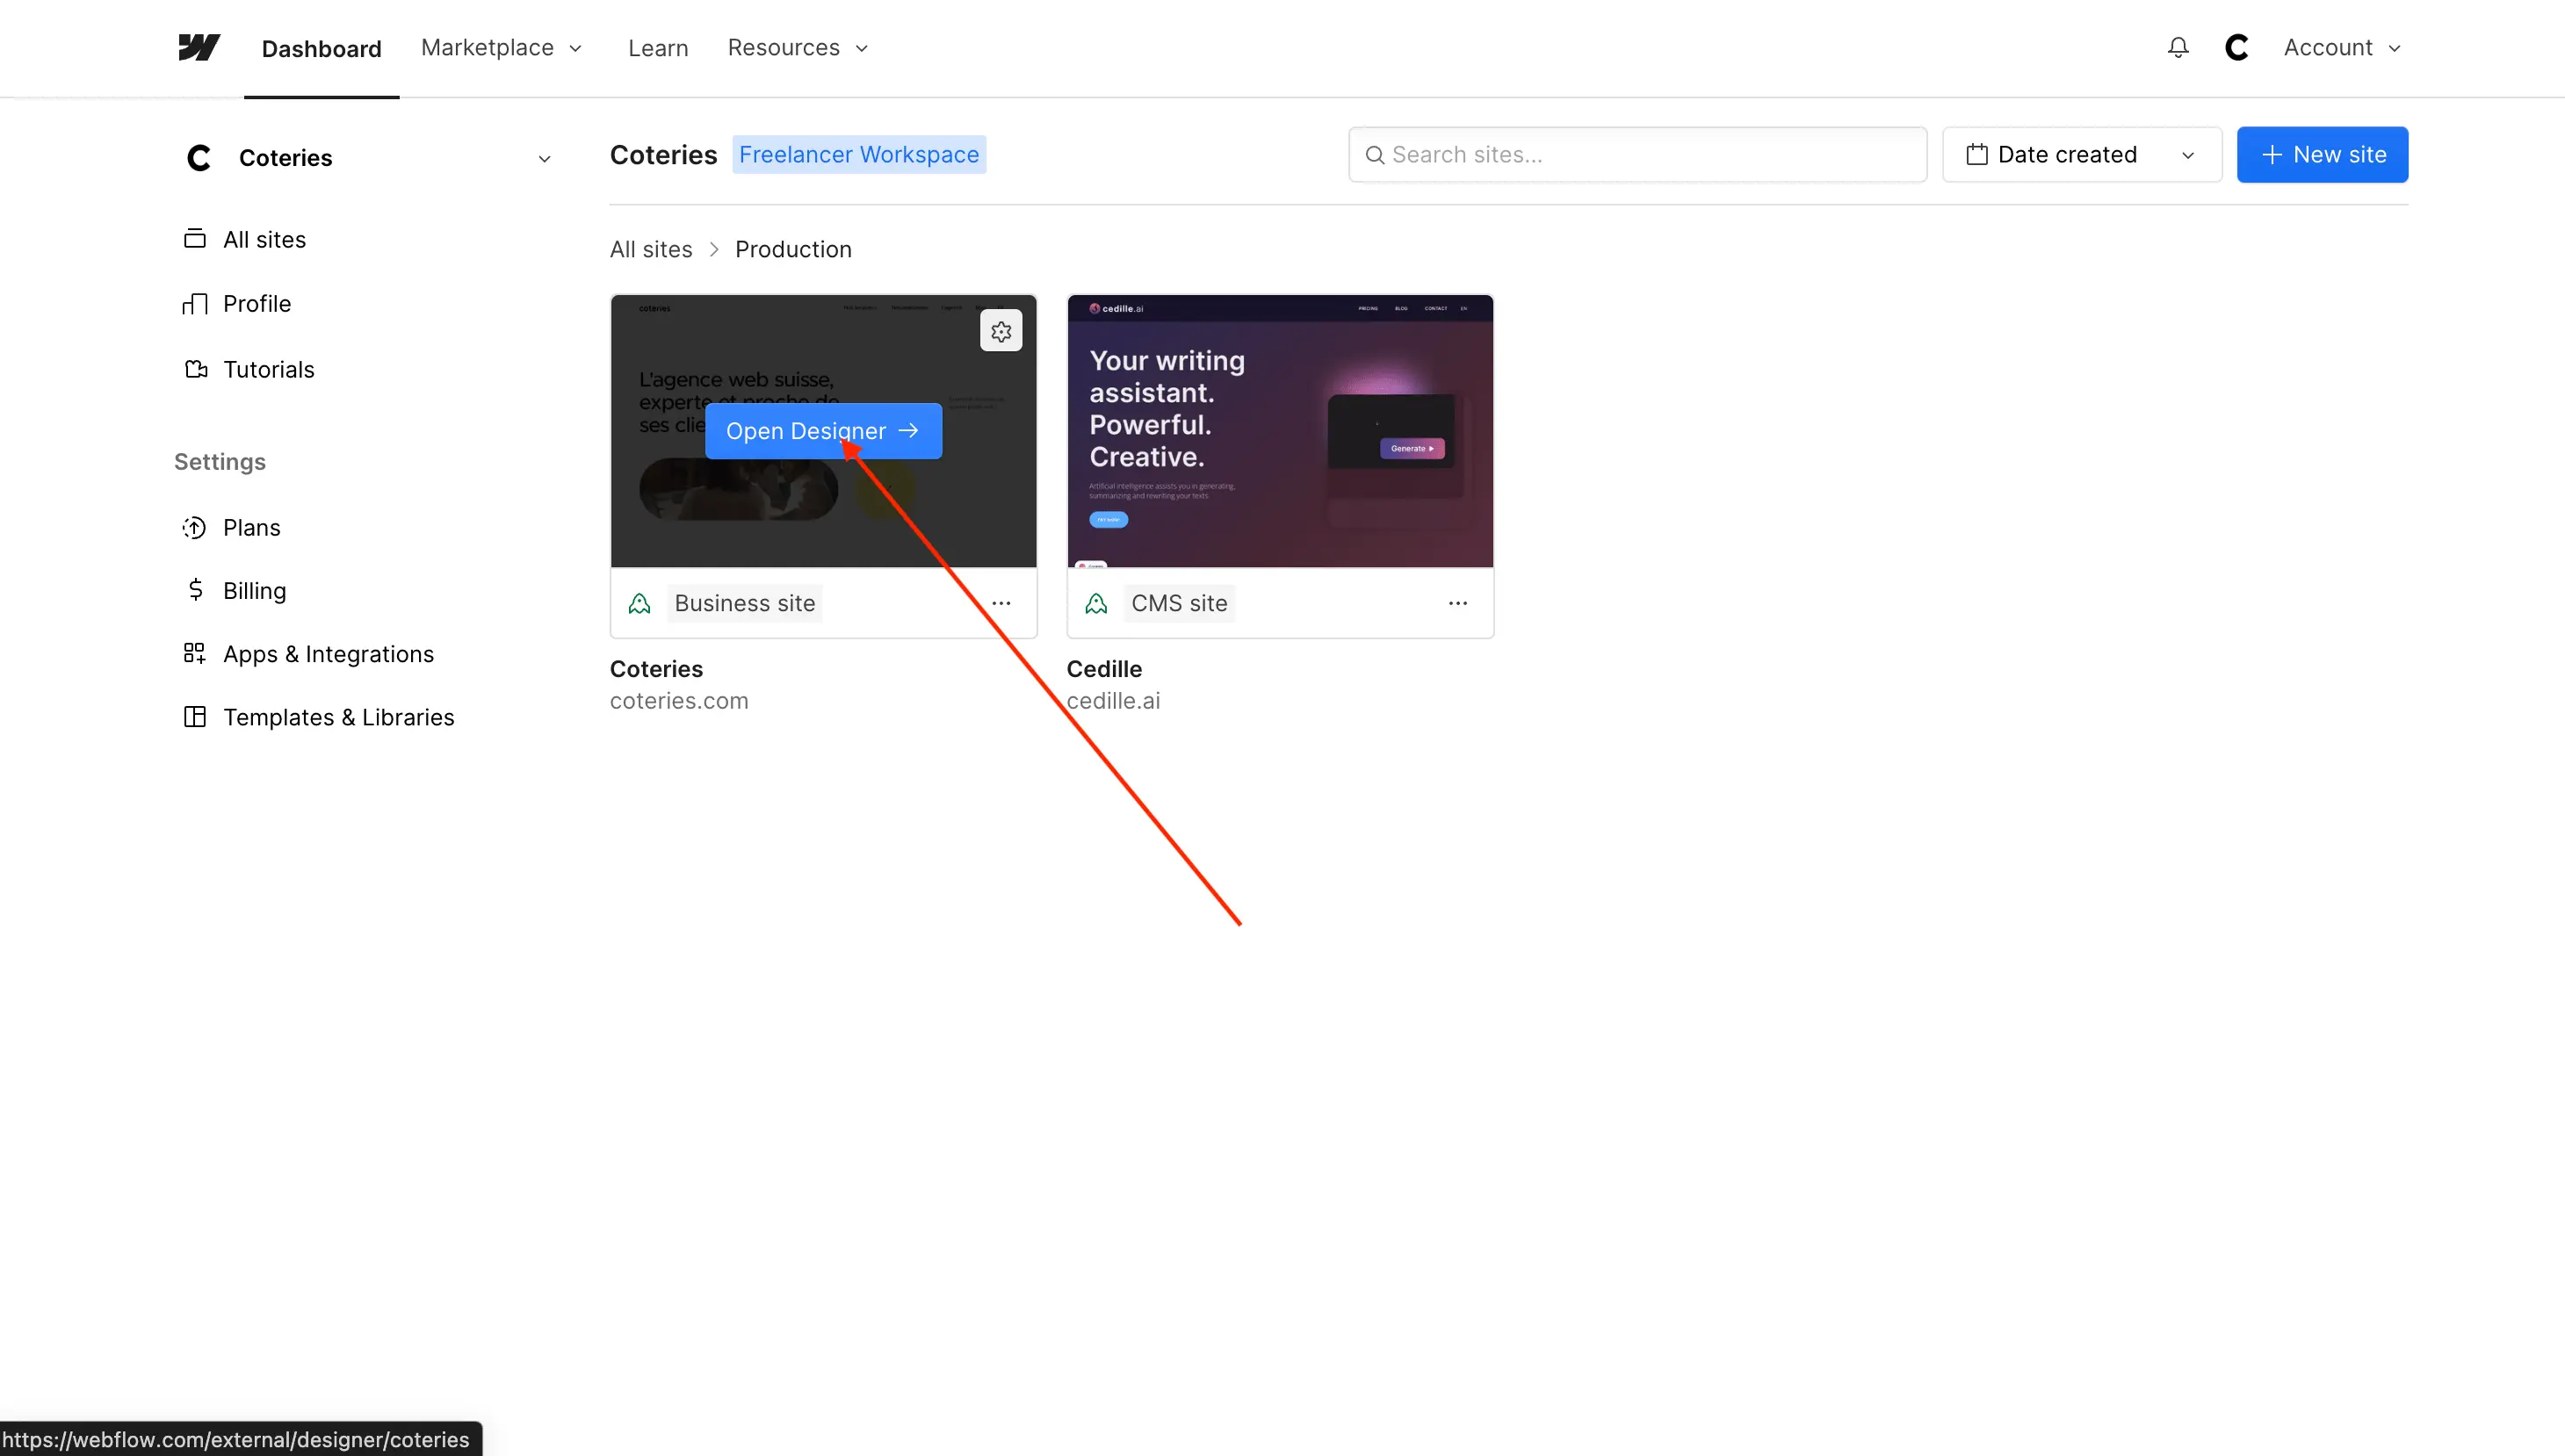
Connect to Webflow, and on your site, click Open Designer.
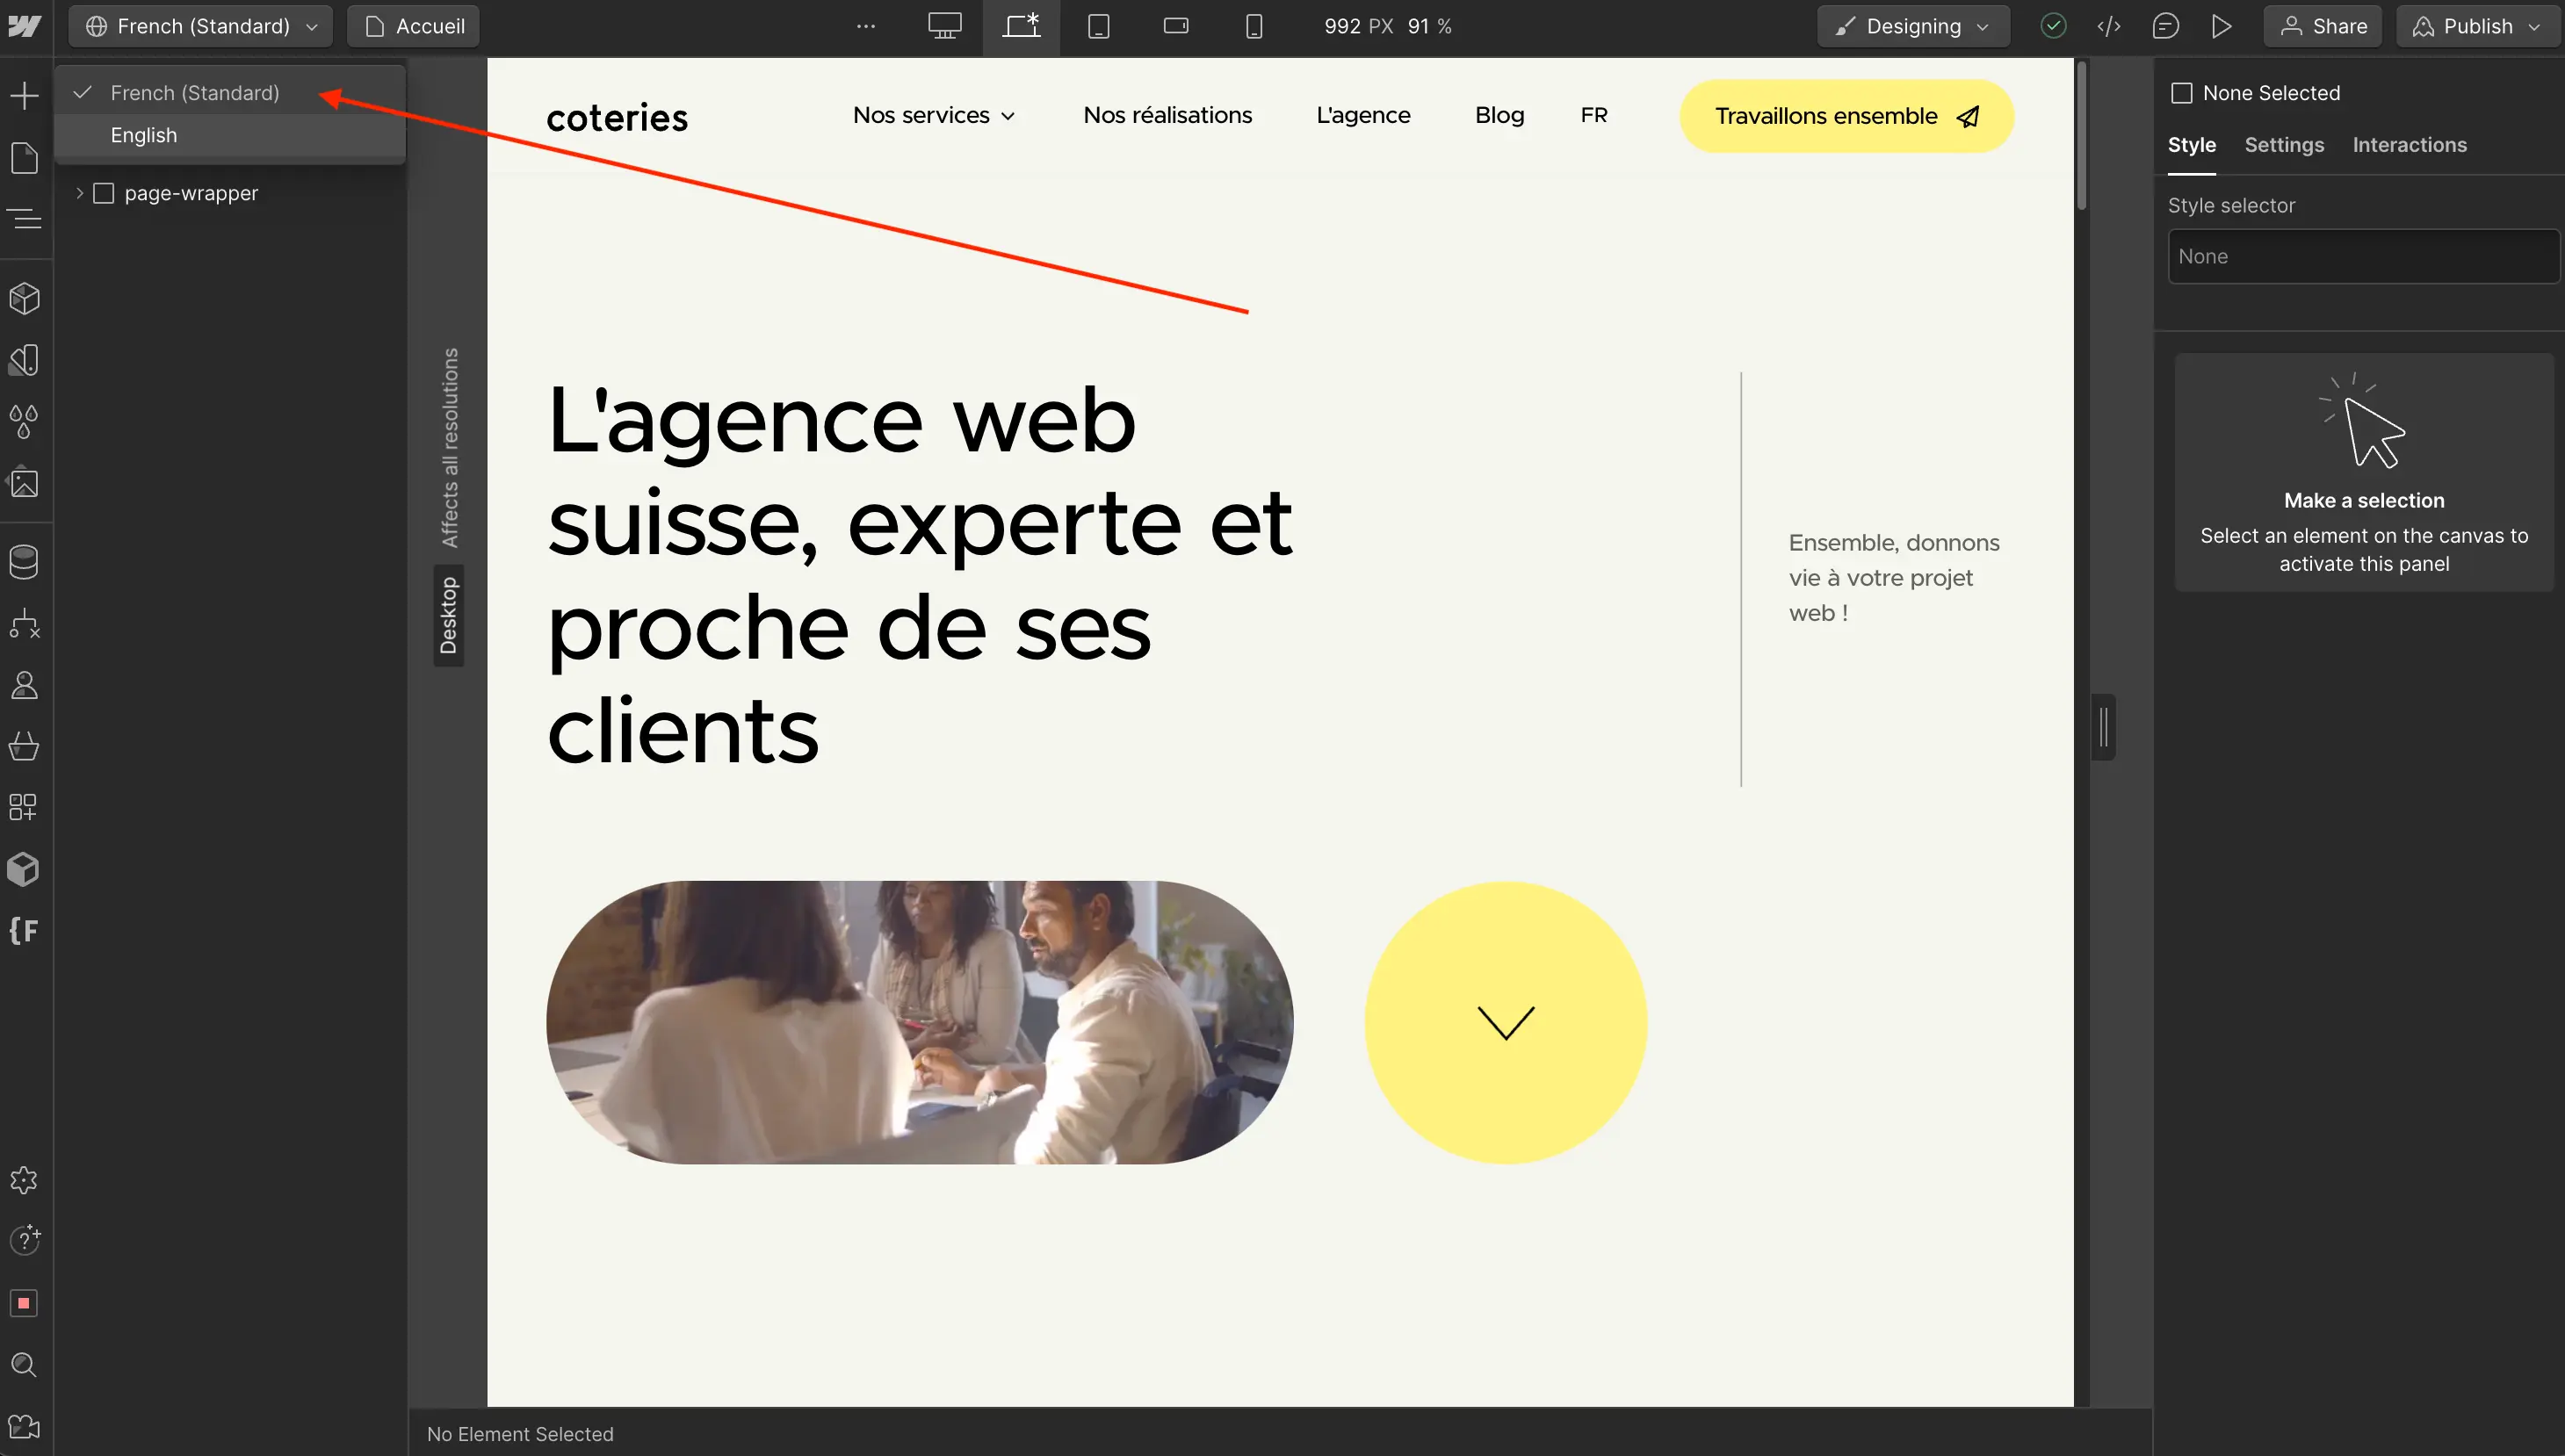
Once connected, you access the canvas where the language of your site is the default.
Translating static page content manually
We call “static” content the content of the page that is not dynamically displayed from collections. For example, for example, a list of blog posts that display the title, preview image, and summary of an article.
To translate the content of a static page, simply position yourself in the text block and translate manually into the target language.

When leaving the block, the modification is saved, and you can then publish either in development mode (on your mysite.webflow.io domain), or in production.

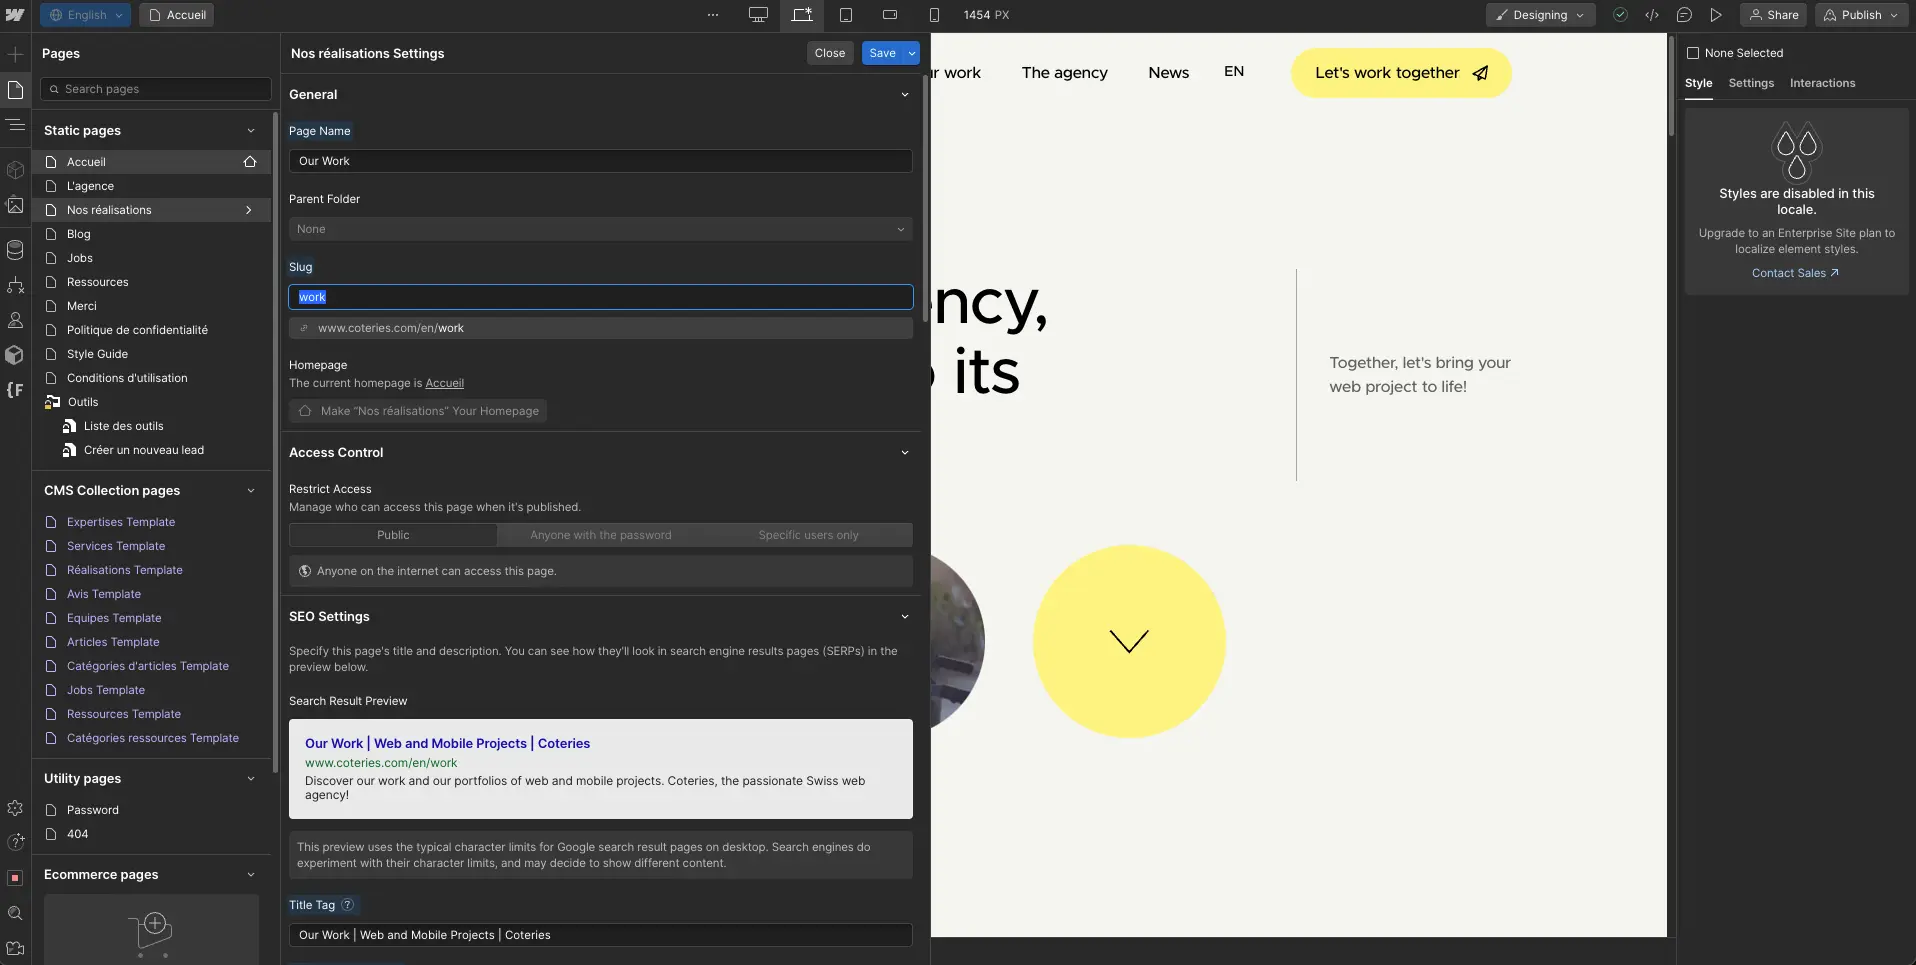
Translate page path (slug)
To translate the page path, or “slug”, simply go to the page settings, from the left panel.
As stated in our SEO checklist, keep Slugs short!
Translate static page content automatically
Luckily, you can translate content automatically.
If you are in Designer mode
You can automatically translate the contents of your page by right-clicking on a static element (which is not purple) and then translating to the target language.
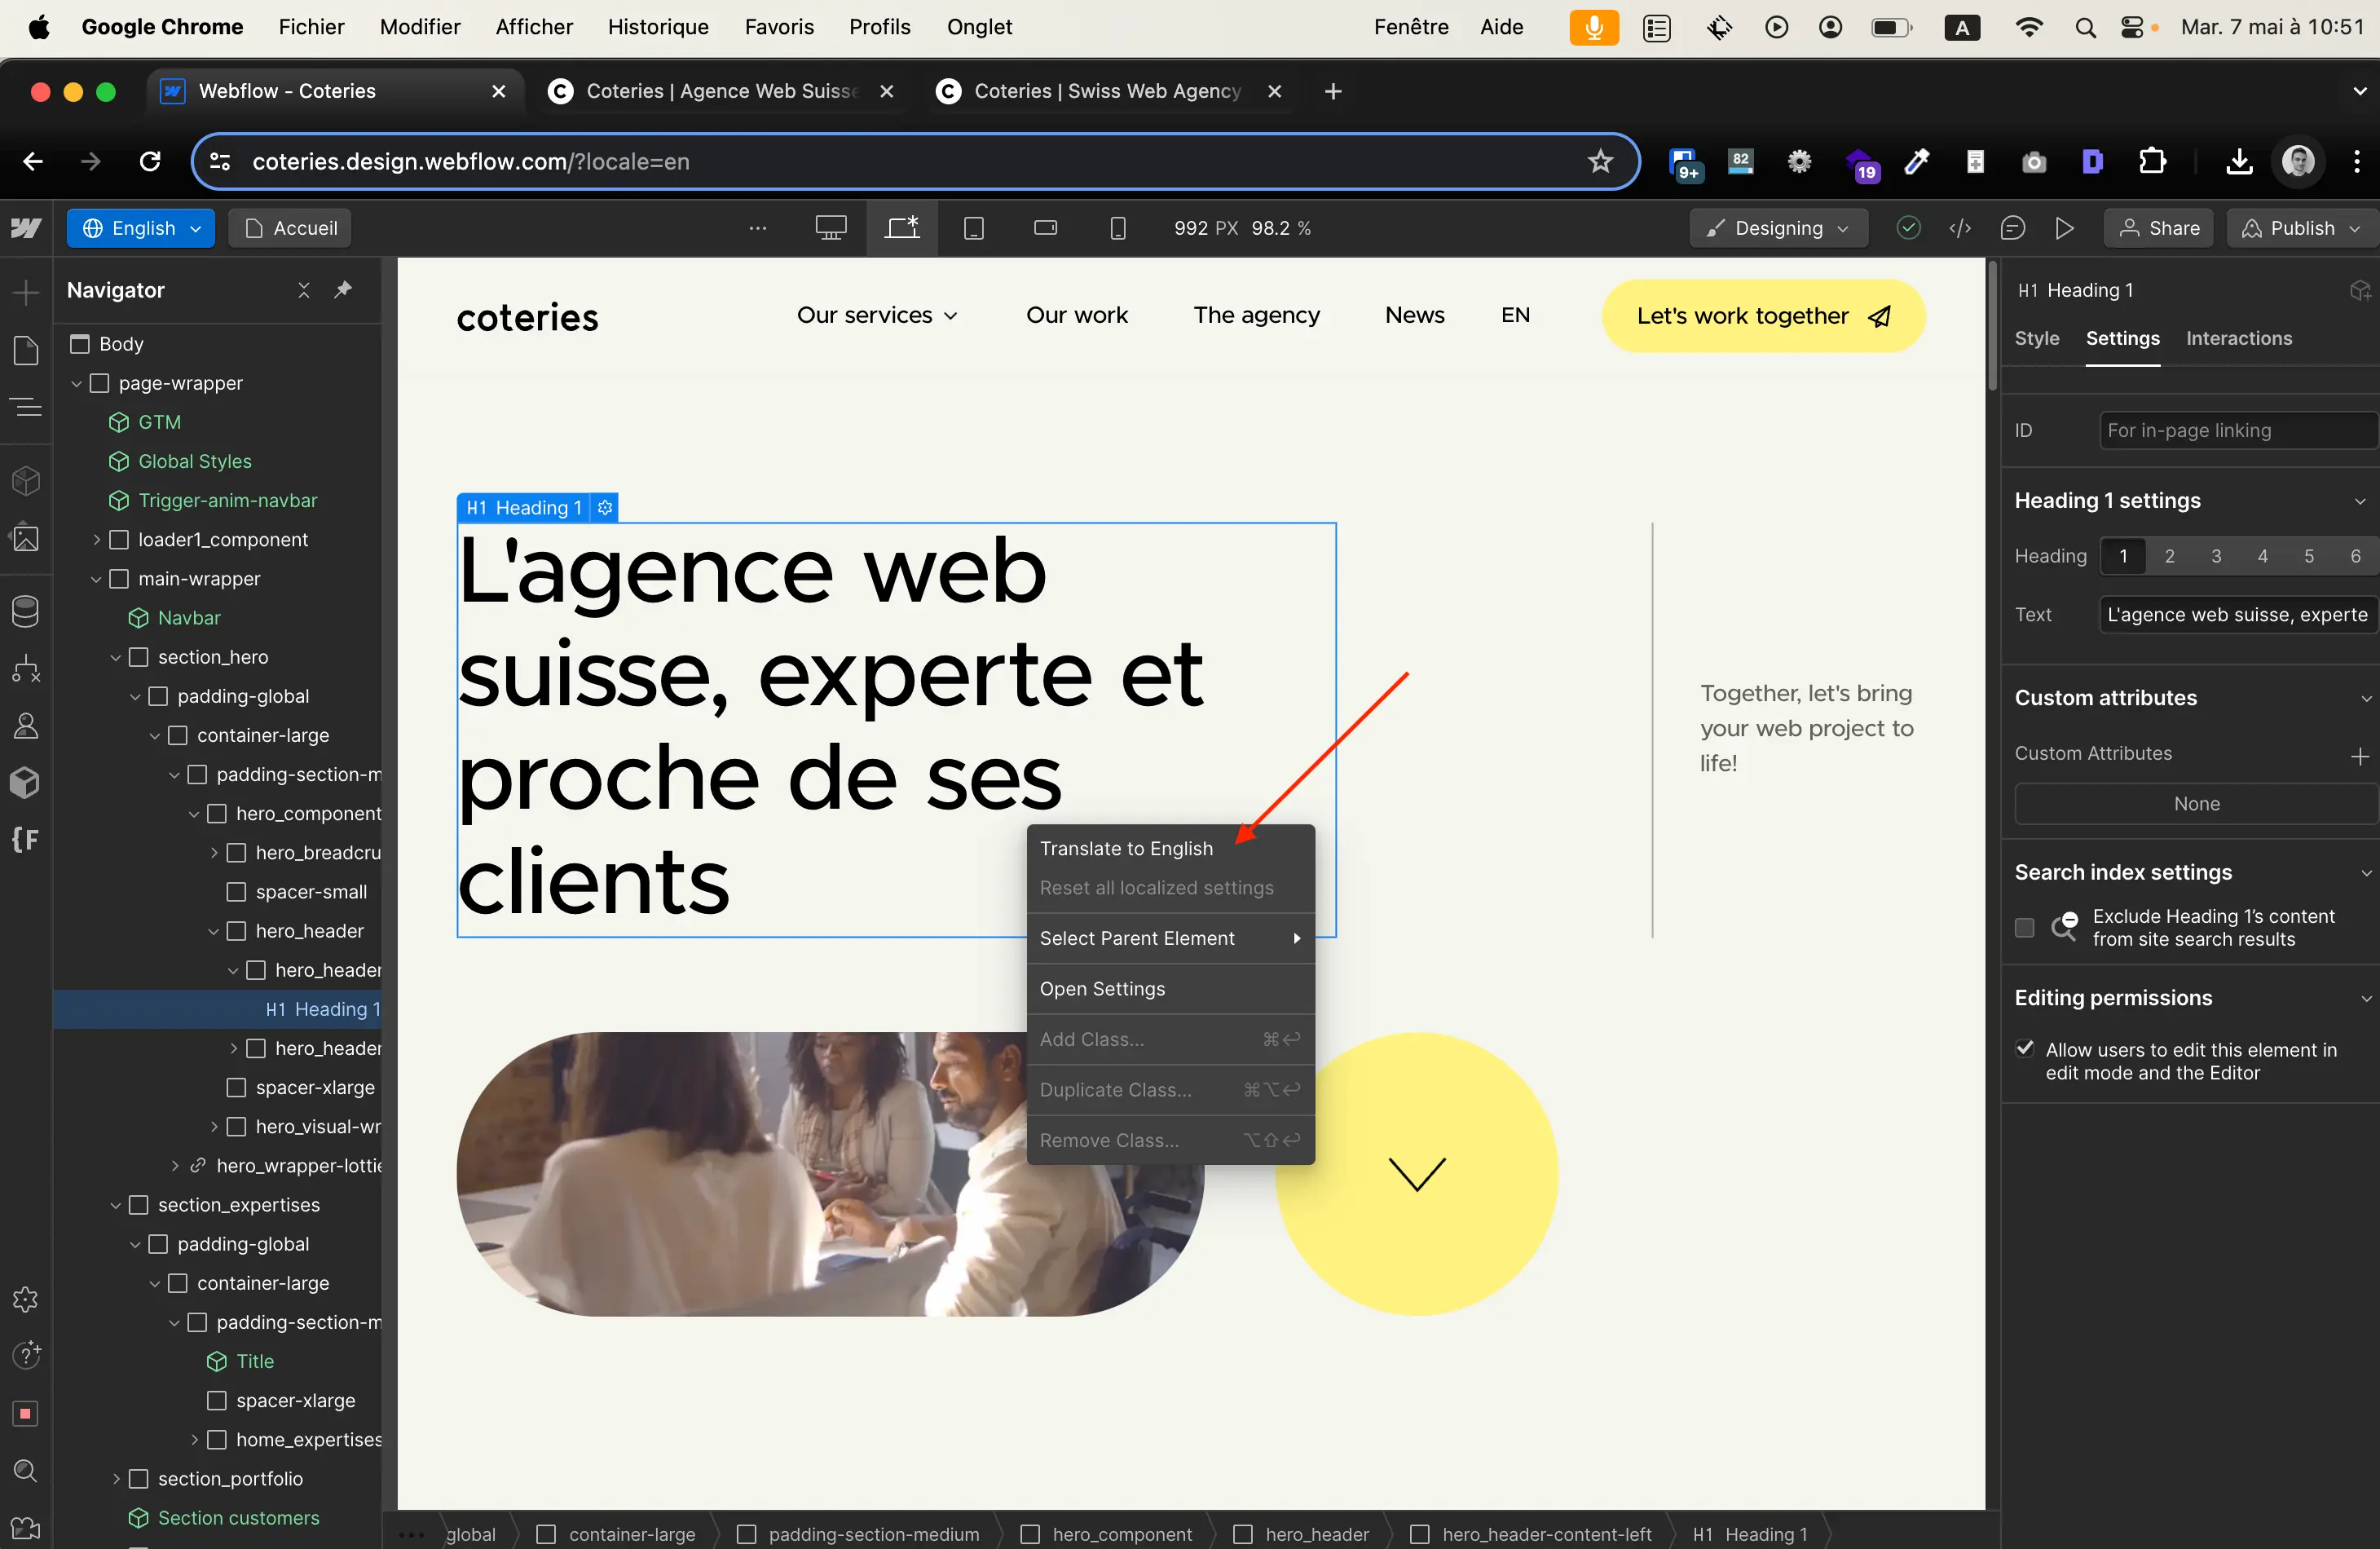
In the page structure elements panel on the left, you can also select the block that contains all the elements on your page, the Body and right click, then translate to the target language. Be careful not to break anything in the structure!

You can then review the items one by one.
If you are in Designer - Editing mode
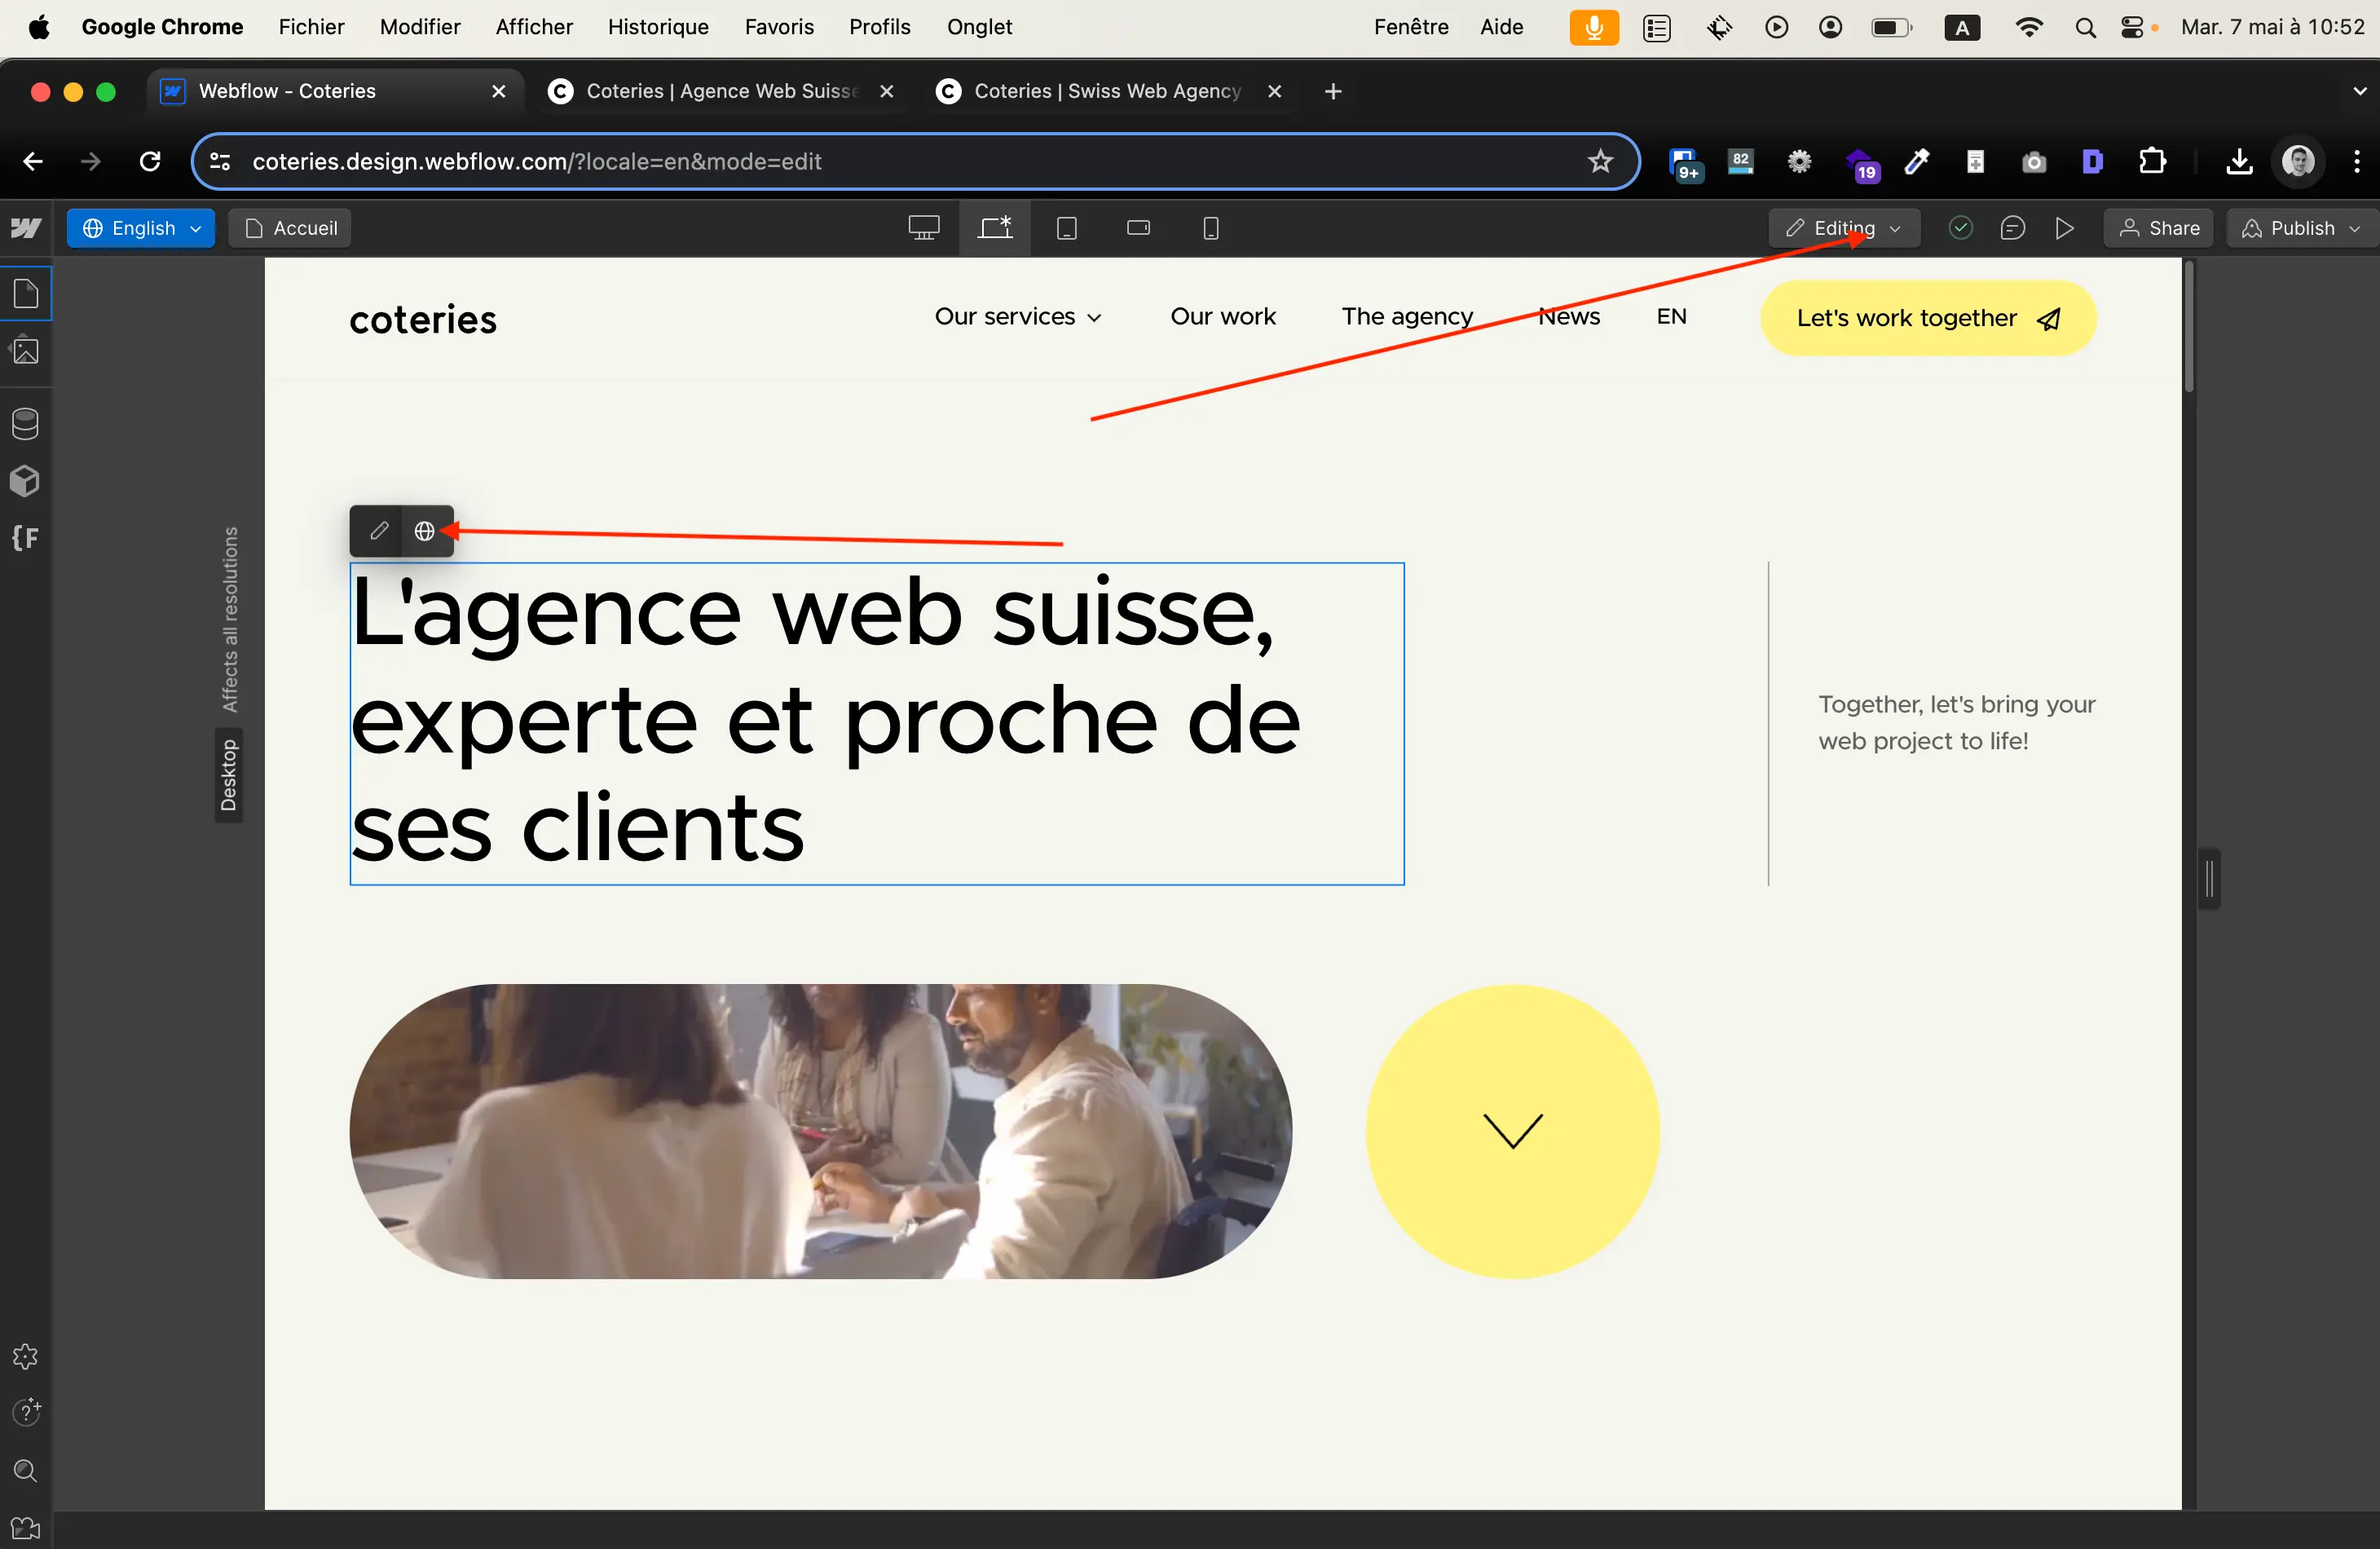
In Editing mode, you have fewer features to translate your site, such as selecting Body, but you can automatically translate items one by one with the World Wide Web 🌐 icon.
Translating dynamic content (CMS)
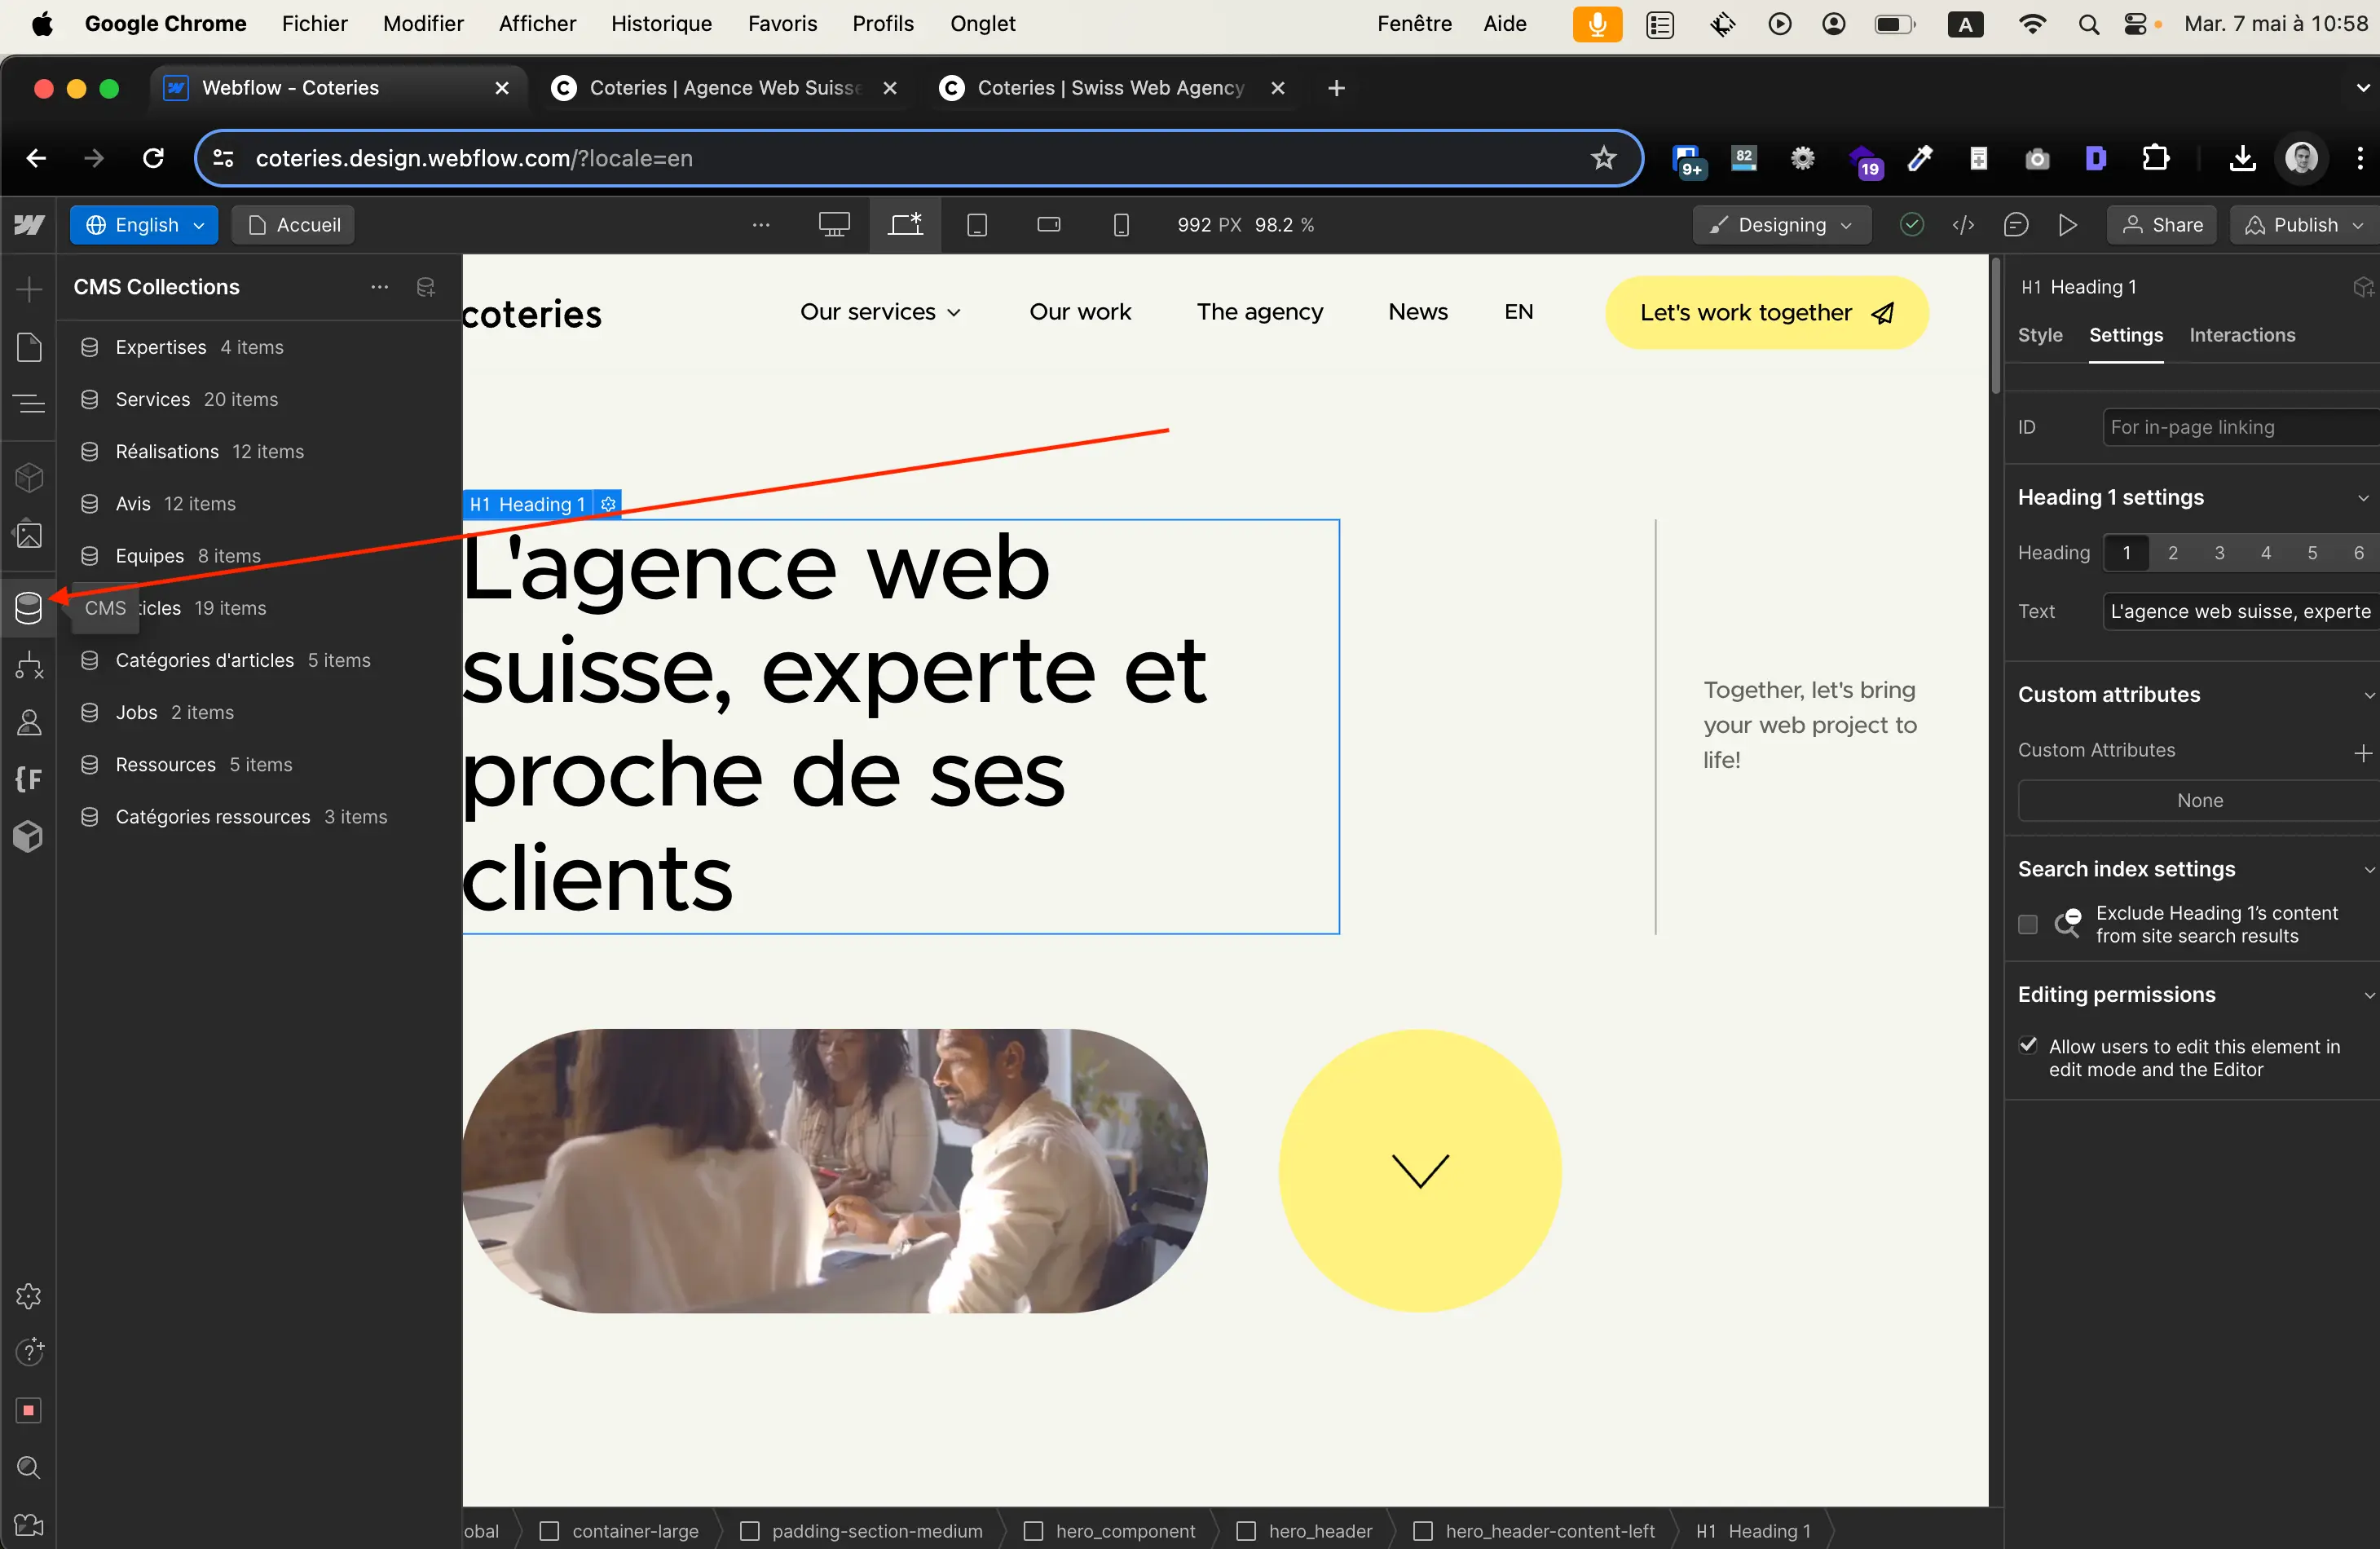
To translate the so-called “dynamic” content elements, you have to go to the content manager or CMS, on the left side of the canvas.
From there, you can go to each collection and translate each item there either automatically with “Translate all fields” or manually.
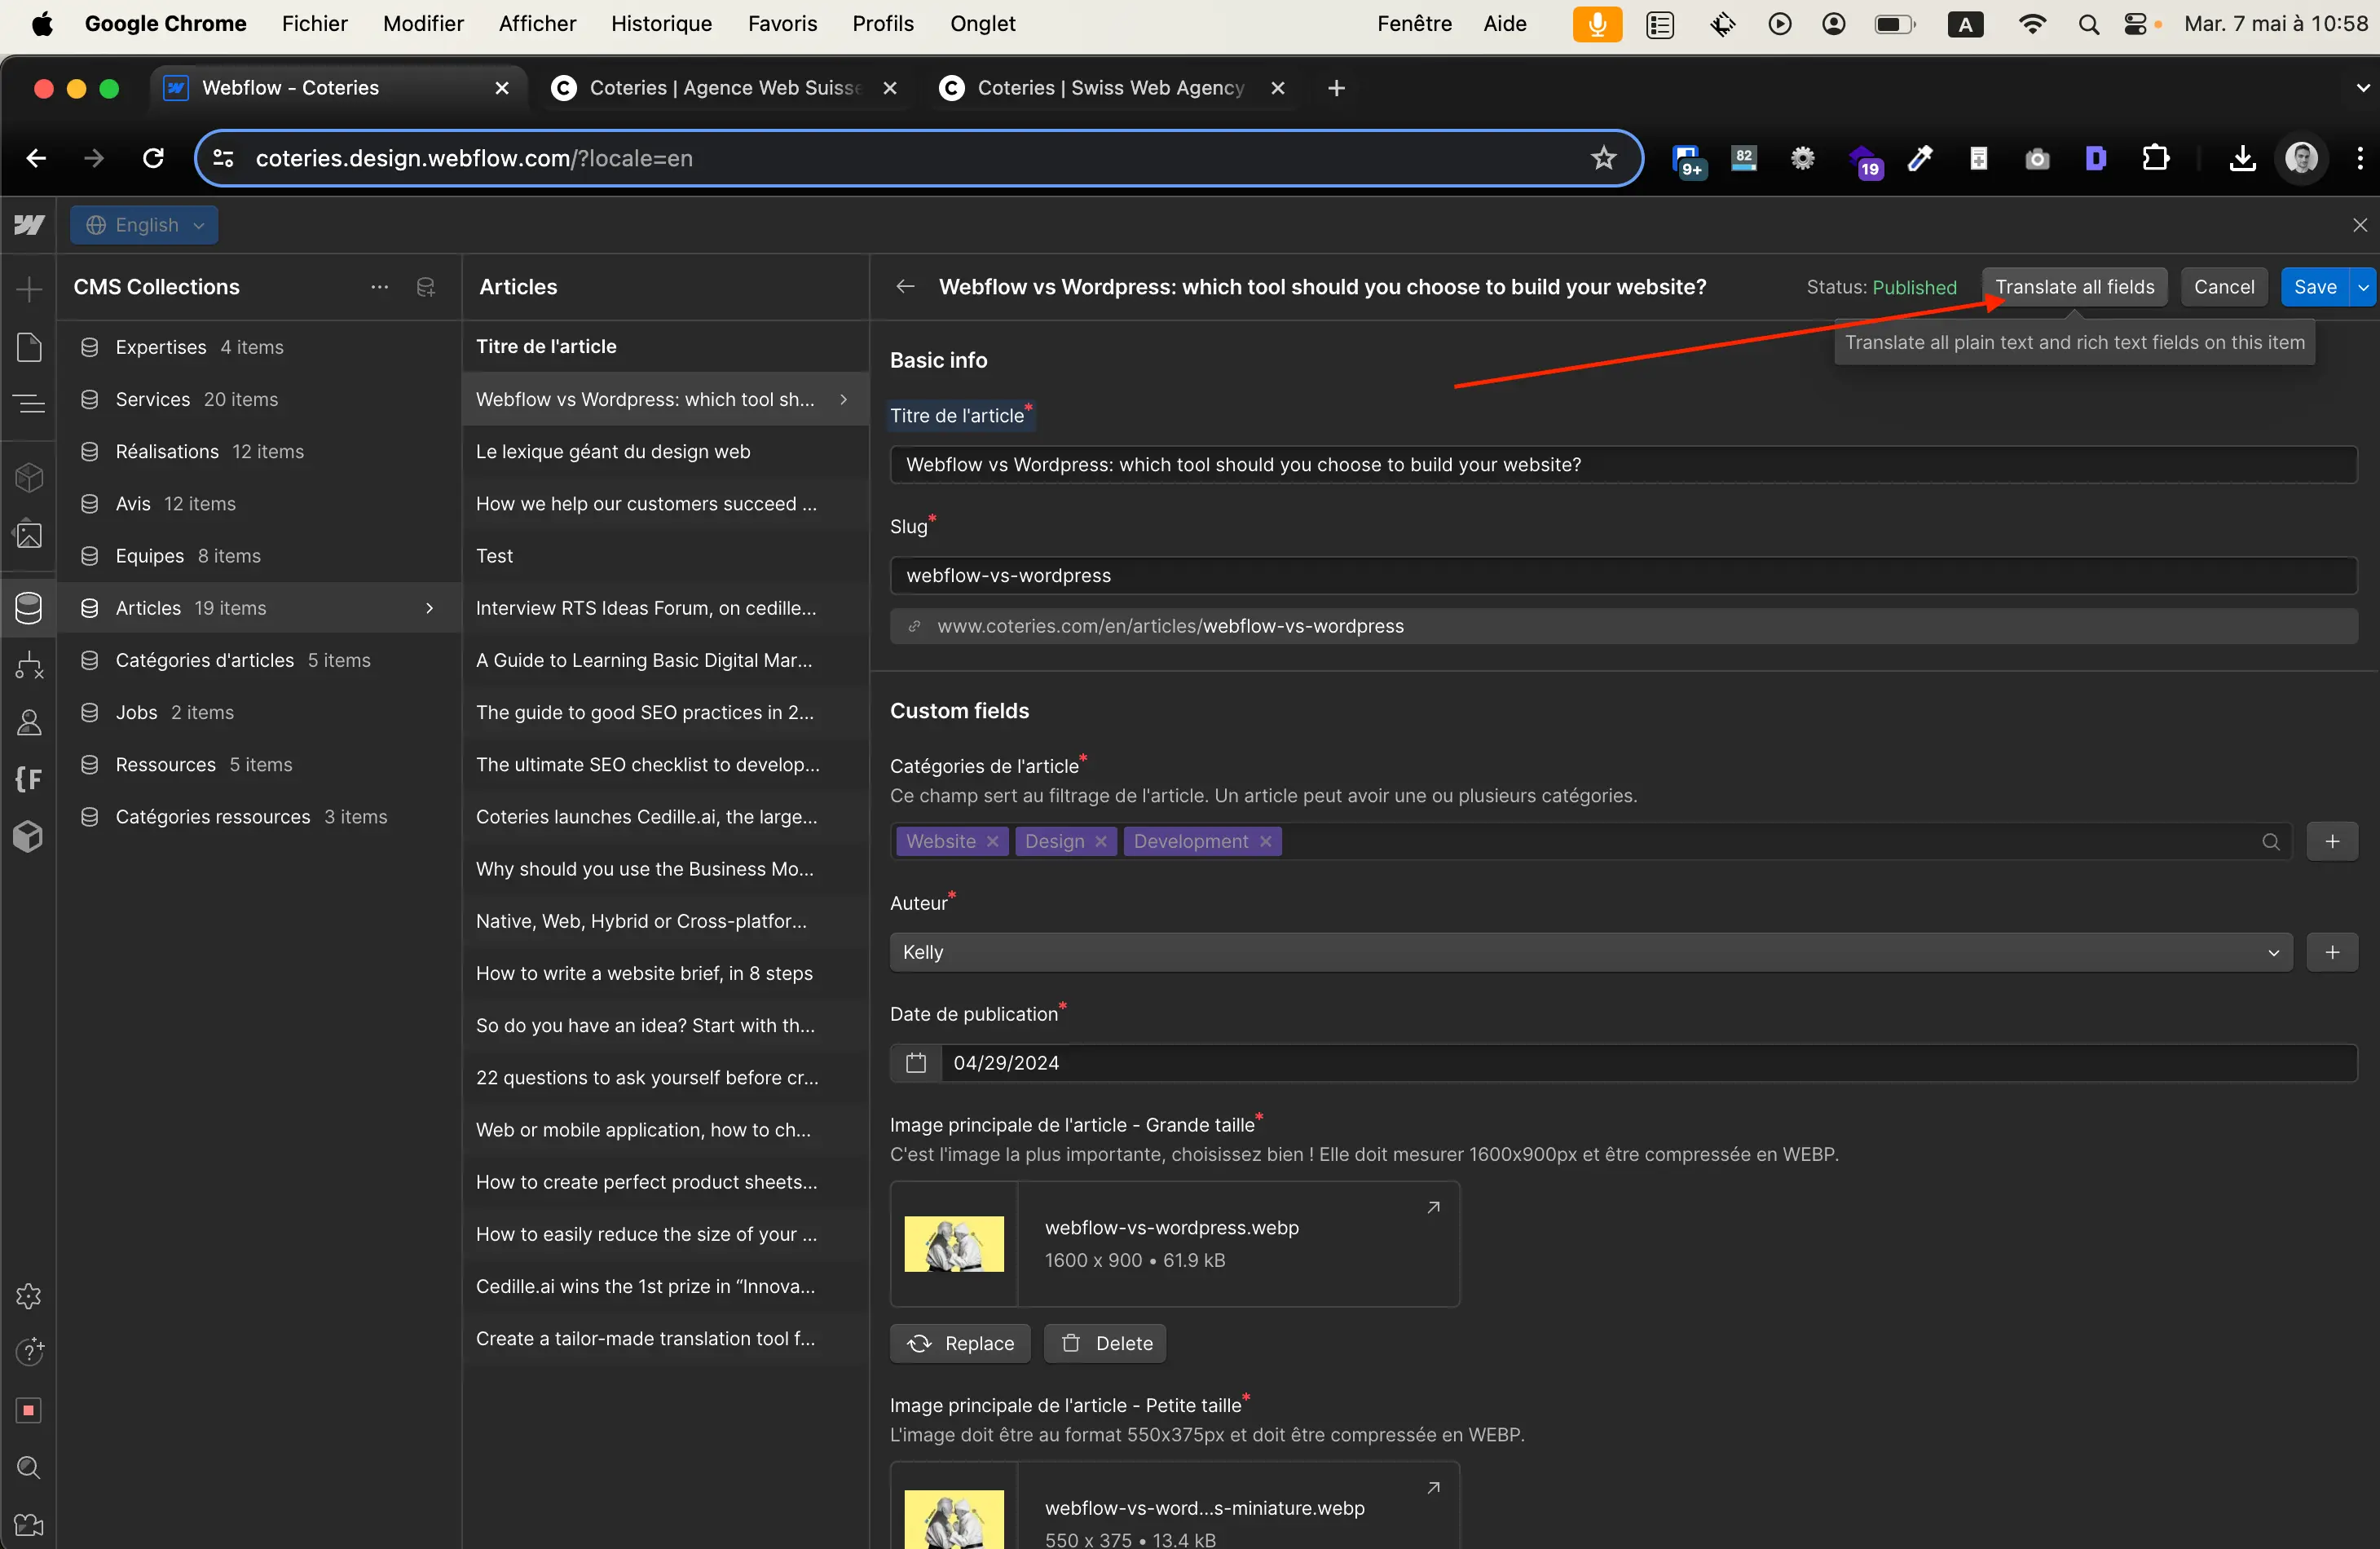
Remember to translate the slug (URL path) which is not done automatically. A tip: copy paste the title of the item and keep only the words you need for a short and concise URL path (see our ultimate SEO checklist).
Translating the URL paths of CMS items
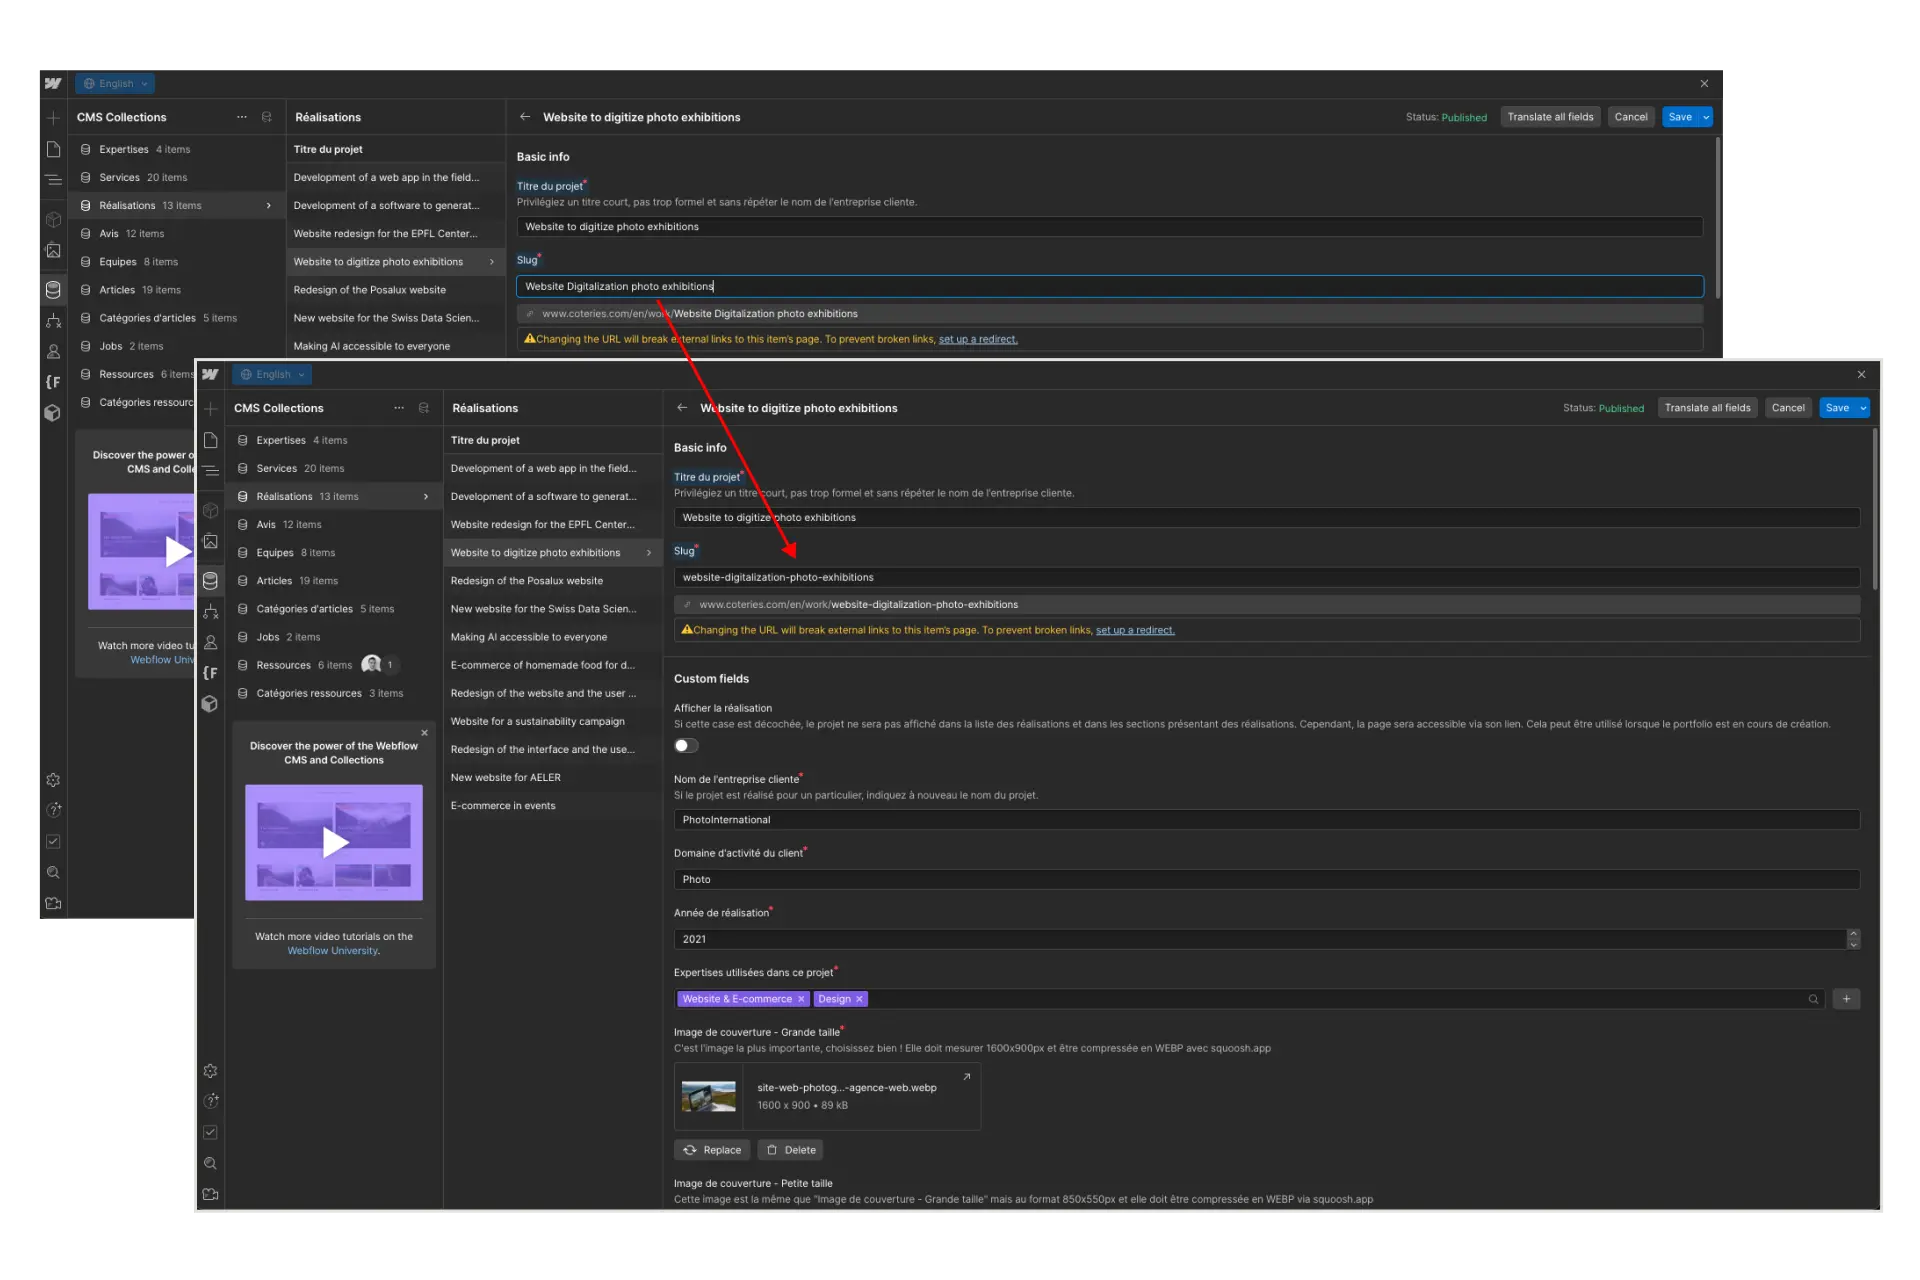
When you automatically translate a CMS item with”Translate all fields“, the URL path, or slug, is not translated. It must therefore be done manually. You can write the URL path directly without worrying about formatting, because when leaving the field, the slug will be formatted automatically. So you can write without thinking about hyphens, capital letters or accents.
Translating slugs and redirects
When you change the URL path, the alert ”Changing the URL will break external links to this item's page. To Prevent Broken Links, Set Up a Redirect“ appears.
This is completely normal and you don't need to worry about it if you are translating this item for the first time.
However, if you change this URL path after a while, it may be a good idea to create a redirect to ensure that the external links that point to your page are still effective.
You can create redirects from the dashboard, tab Publishing, 301 redirects.

Create new content
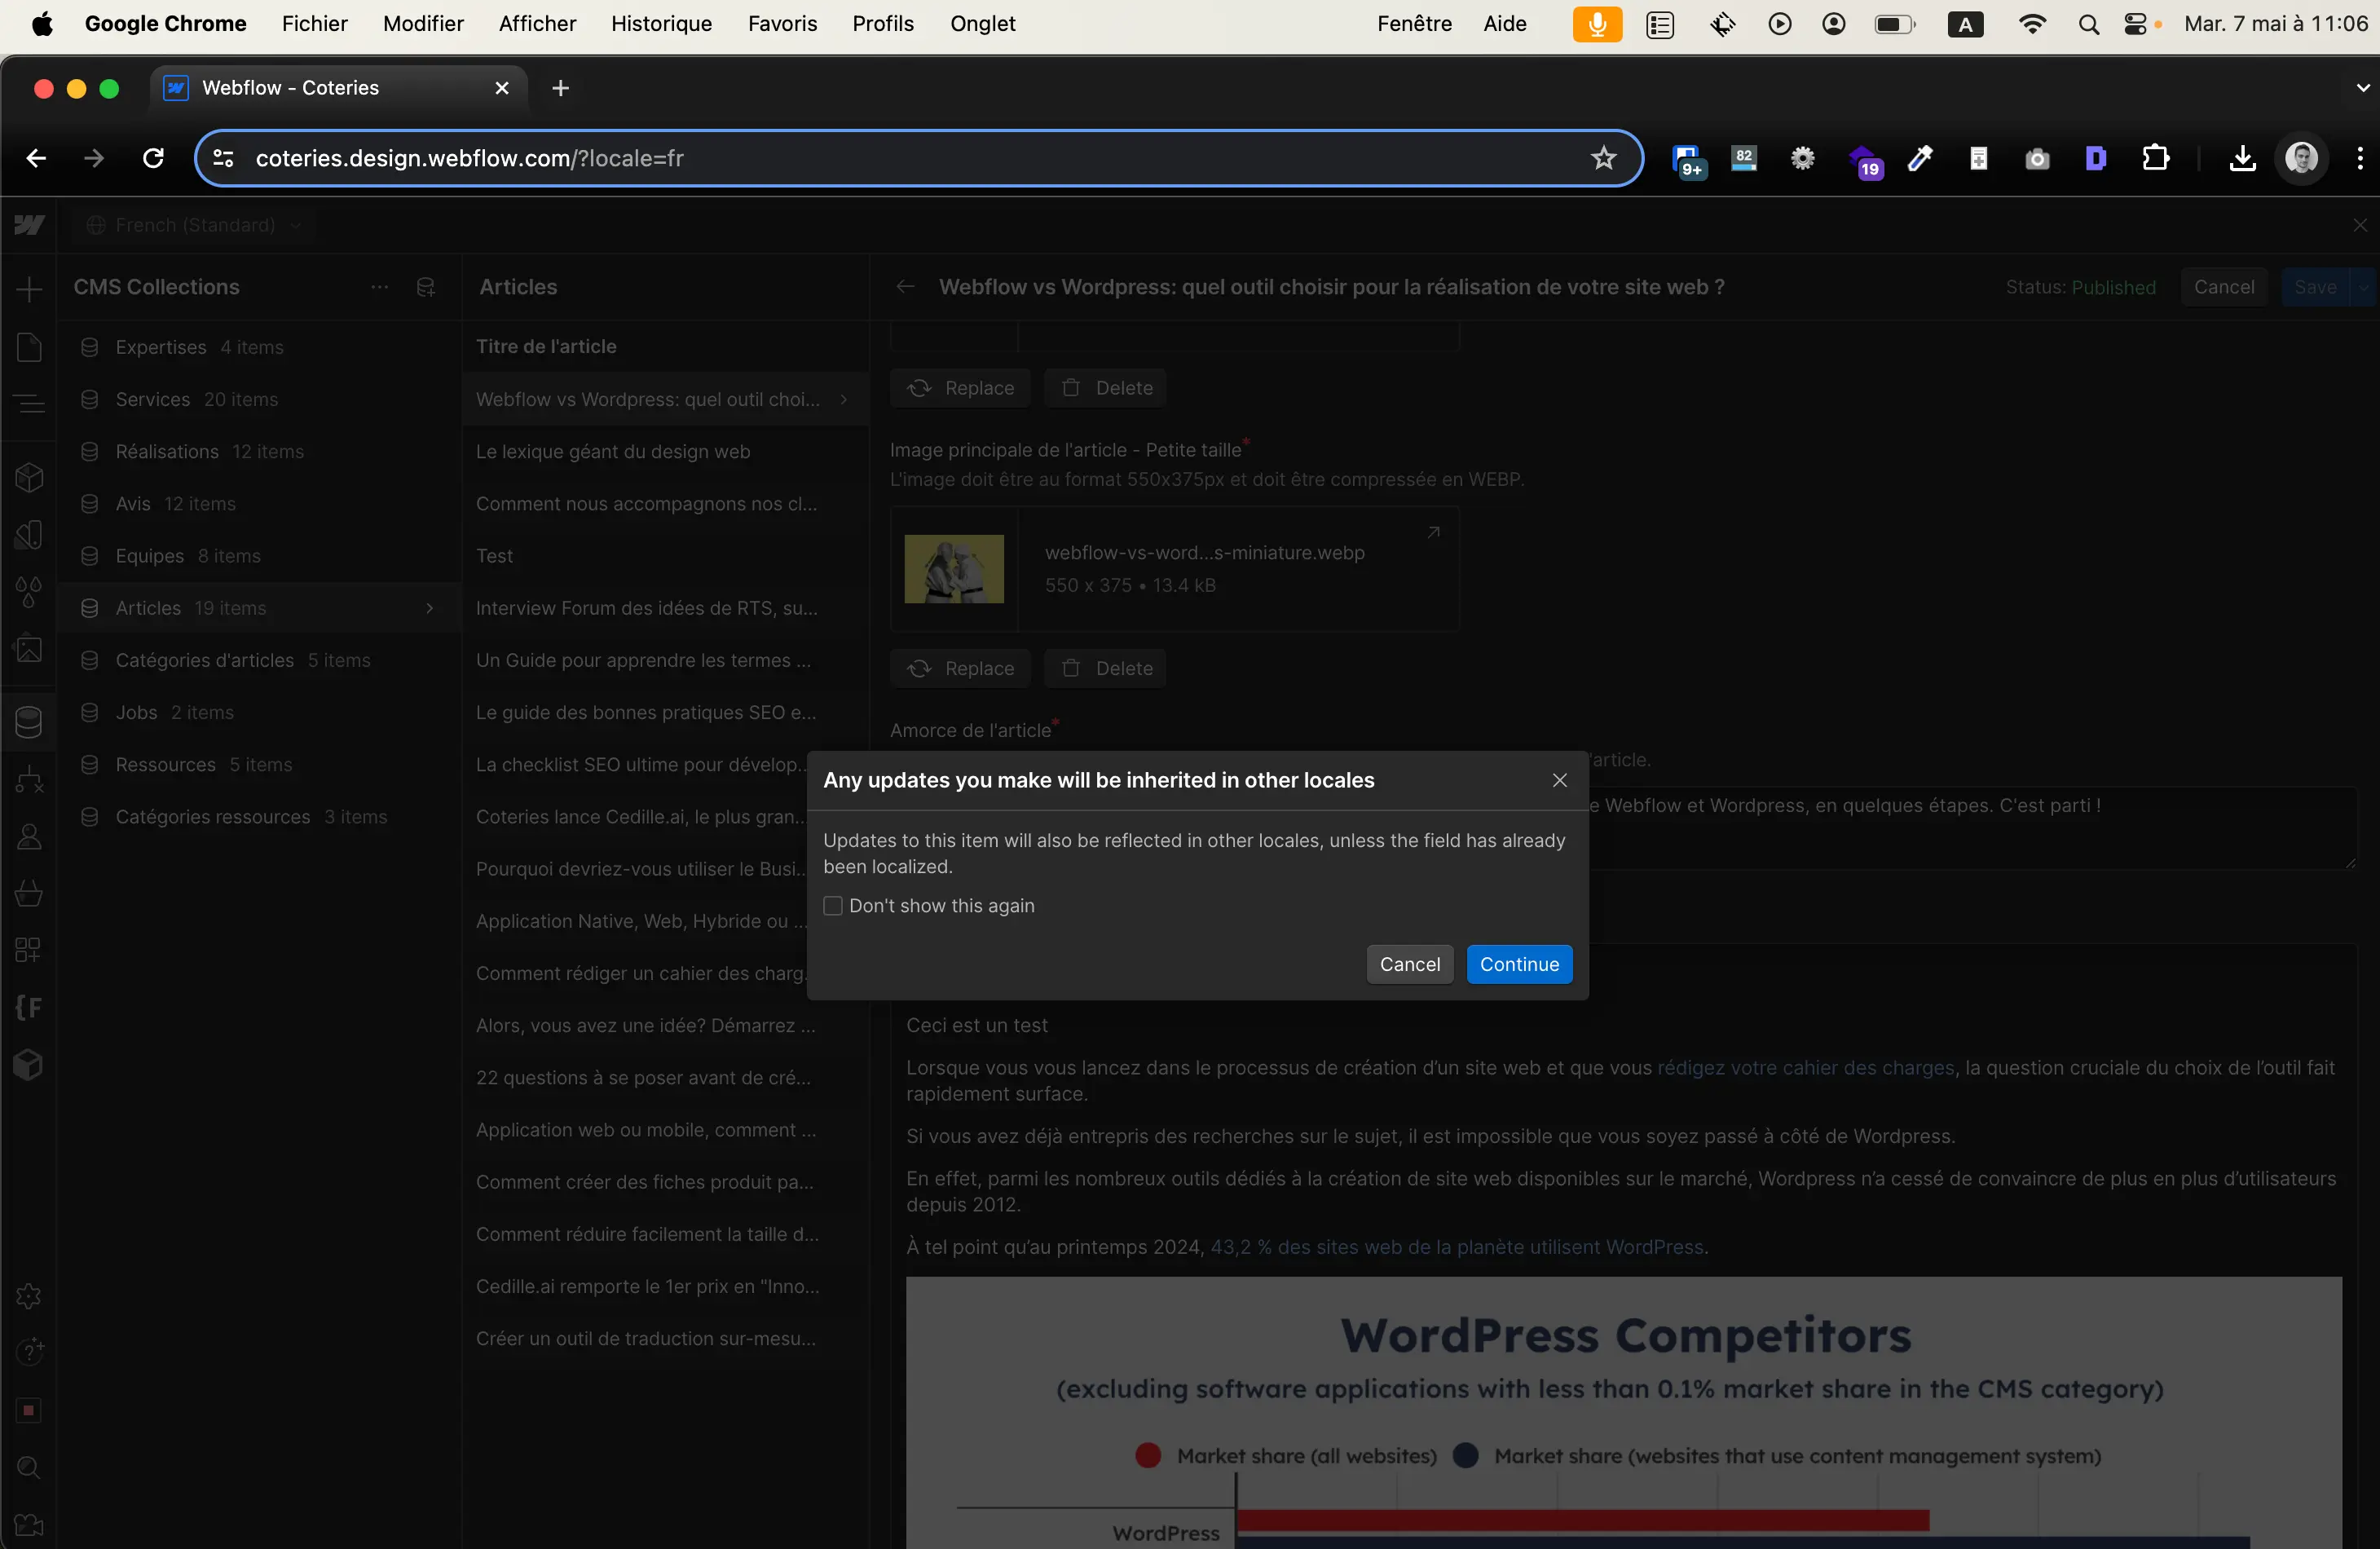
When you create new content, such as a new collection item, an alert message tells you that a version of your content will also be created in all the languages of your site.

Edit content that has already been translated into the main language
If you change existing content that has already been translated into the main language, the changes will not be carried over into the translation if it has already been translated.
